
Boldbobbin 1.3.3: Line Art, Magic Wand and Appliqué
Turn drawings into editable embroidery, digitize image regions with a click, and create appliqué with guided stops. See what is new in Boldbobbin 1.3.3.

Alexandre Binninger
Founder of Boldbobbin, Ph.D. in Computer Graphics from ETH Zurich
7 min read
Have a line drawing you want to stitch as redwork? Or maybe you want to put some satin in your line art design? A picture where you only need a few colours? Boldbobbin 1.3.3 gives you new ways to do this. We even shipped the much-requested appliqué functionality in this new version!
Give every line its own stitch
Redwork, outlines and line drawings now have their own line-art editor. You work on the drawing, and Boldbobbin plans the thread’s route to minimize jumps and trims. When you reshape or resize the drawing, that route is planned again automatically.
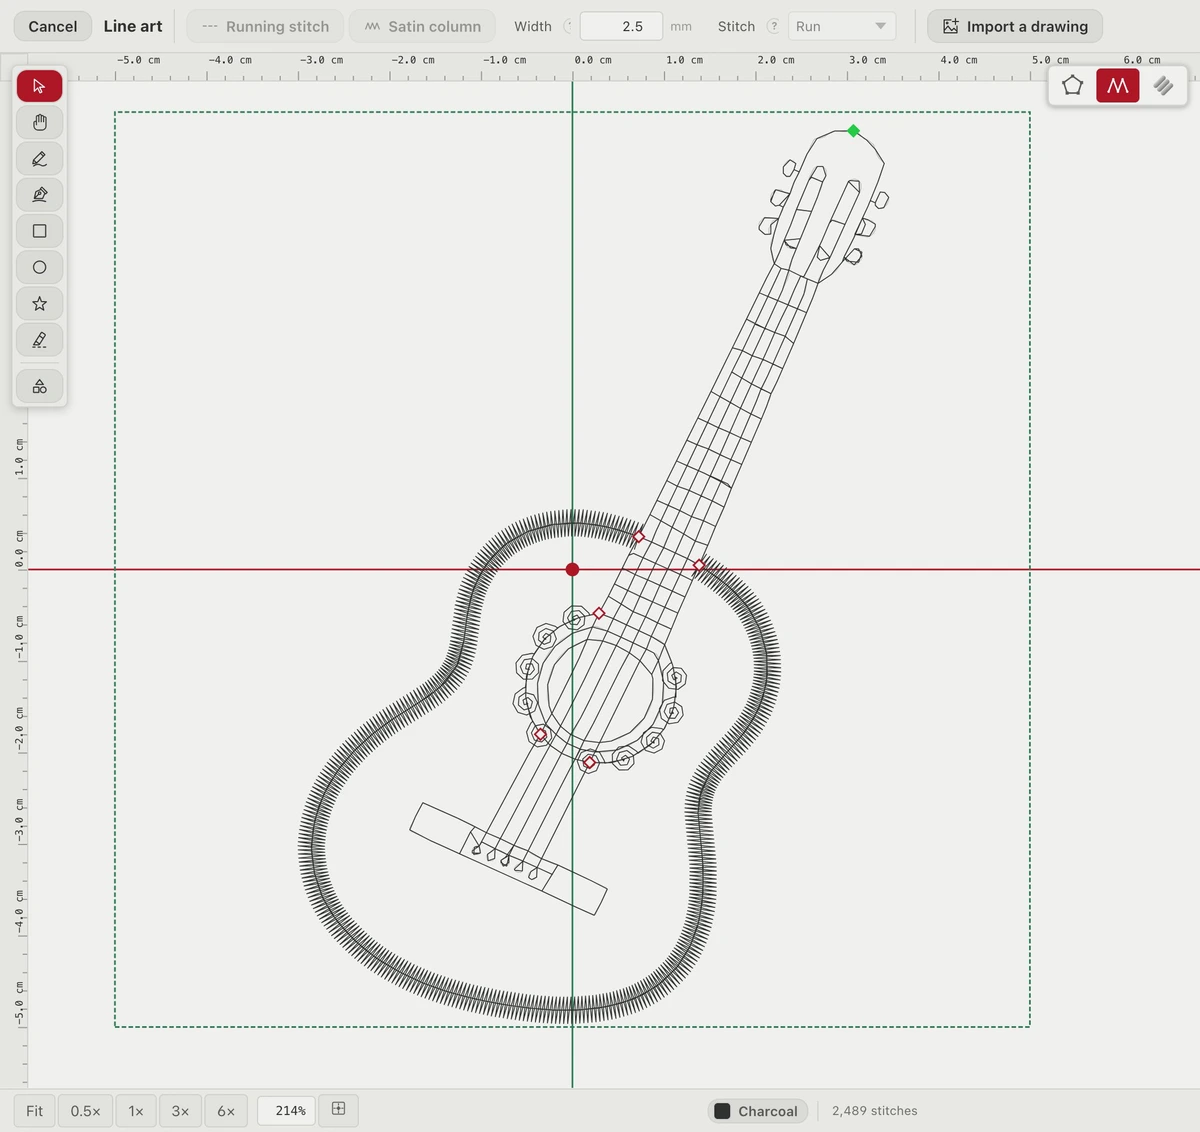
You can draw from scratch, convert existing paths to line art, or bring in a drawing to trace. Once inside the editor, click a piece of line between two crossings to choose how it stitches.
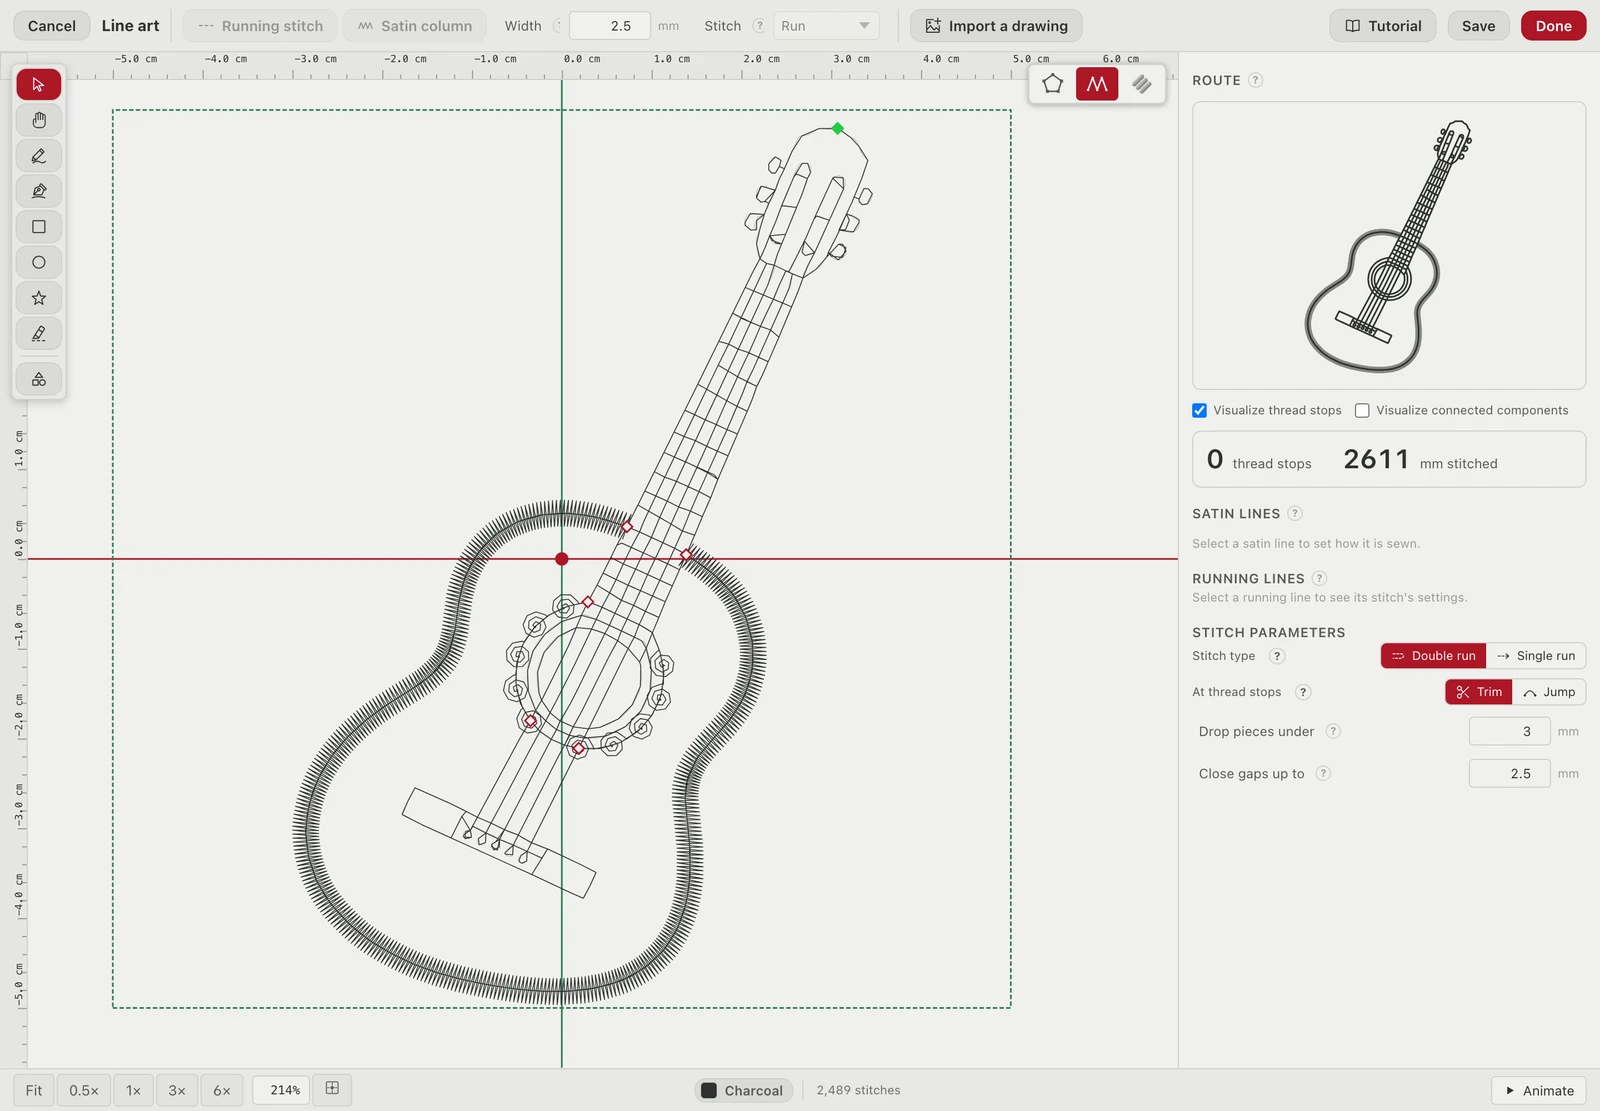
For the guitar in the video, we made the body’s outline 2.5 mm satin and added a 3 mm spiral motif run around the sound hole. You can also give running lines a triple run, backstitch, stemstitch or sculpture stitch style.
What if you need to change the style halfway along a line? Add a separator where you want the change. You can then style each side separately. You have plenty of flexibility when it comes to line art designs!
Add fills without tracing the drawing again
Once your outlines are ready, Divide by drawing lets you add colour inside them. Place a shape behind the drawing, select both, and divide. Each area enclosed by the lines becomes a separate fill, sewn underneath the outlines.
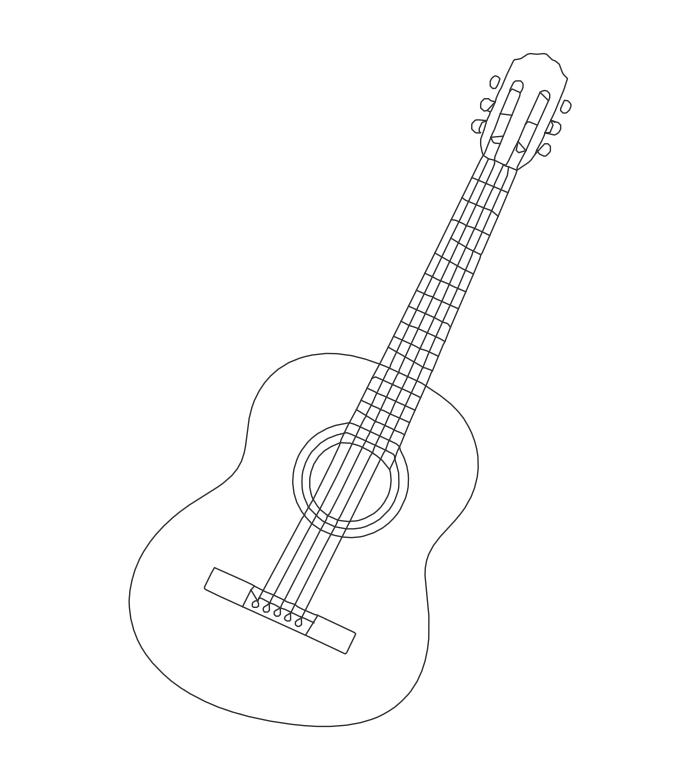
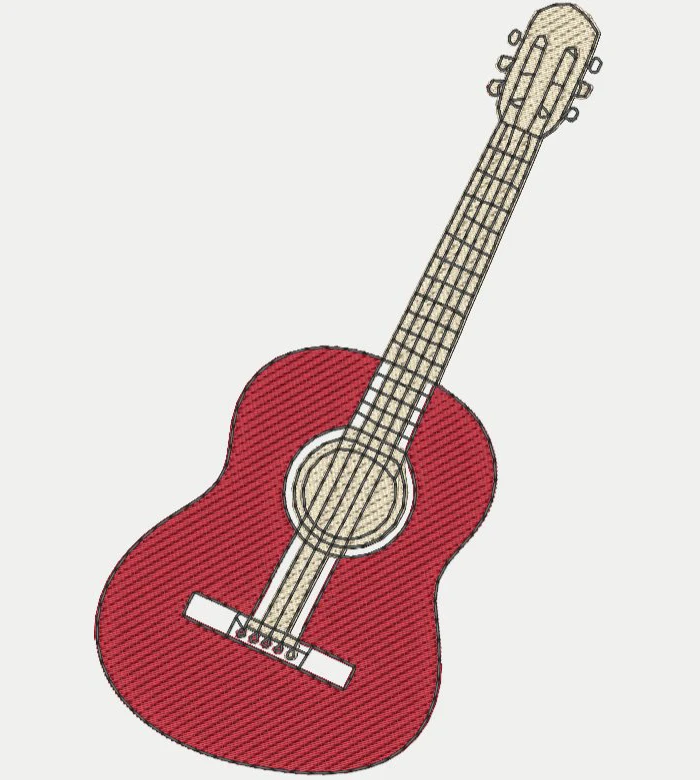
In this example, we divided a rectangle with the guitar drawing, removed the piece around the outside, and changed the body’s fill to Cherry.
Already have a line drawing? You can now directly auto-trace your result!
In the panel’s Line art & Redwork workflow, you can now say whether your image is already a line drawing. While having a photo or artwork redrawn first costs 60 credits, tracing an existing line drawing costs 10 credits because you only have the vectorization step, not the stylization step.
Magic wand: turn parts of a picture into stitches
Sometimes you want to choose the parts of an image to digitize, one at a time. The new magic wand lets you do that directly on a reference picture.
Press W, hover over a region to preview what will be selected, and click. Boldbobbin turns that region into a fill, satin or running stitch. The choice of the stitch type is the same as Auto-Trace’s. Each region goes into its own thread and reuses a nearby palette colour when there is a close match.

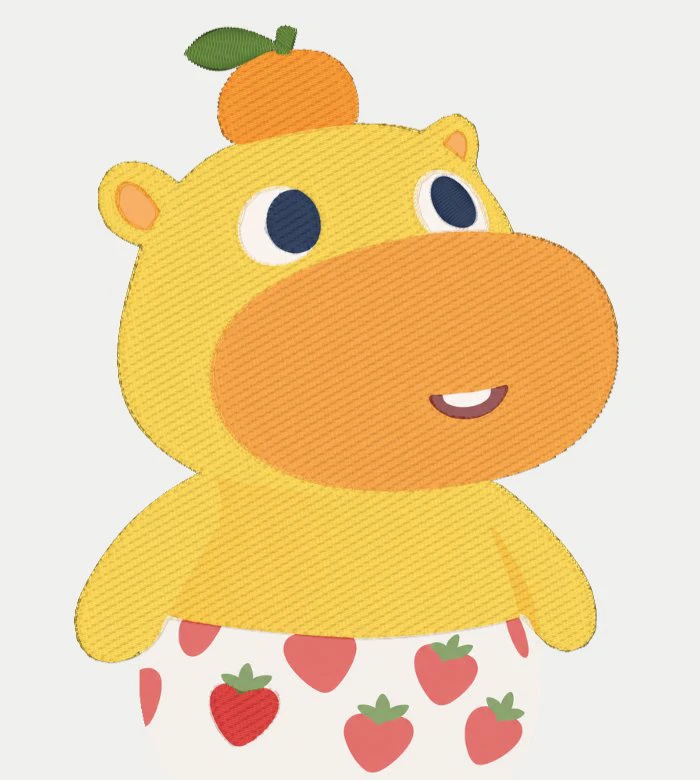
You can adjust the Tolerance to control how far a selection reaches. Shift-click adds to the last region. The resulting outlines become editable objects (as curves), so you can refine the shapes afterwards.
Appliqué designs are here!
With appliqué, the inside of a shape is a piece of fabric, held in place and edged with stitches. To create one, select a closed shape and set Fill: Appliqué.
For a design you trim in place, the sequence looks like this:
-
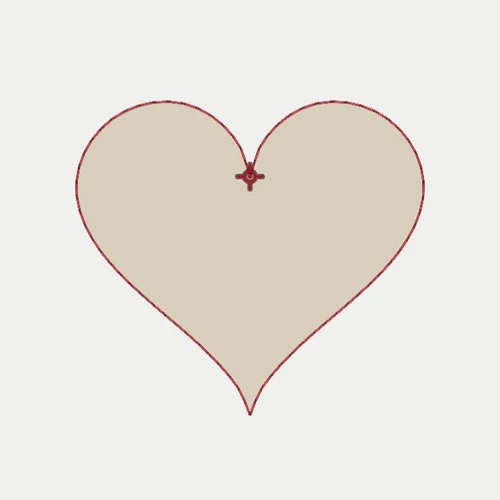 1. Guide run
Sew the placement outline, then stop to lay your fabric over it.
-
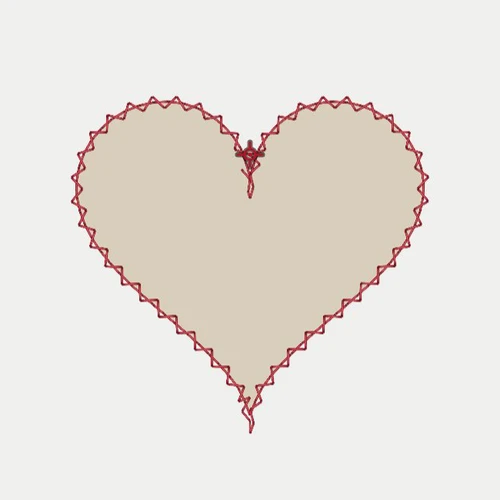 2. Tack-down
Secure the fabric, then stop to trim around the edge.
-
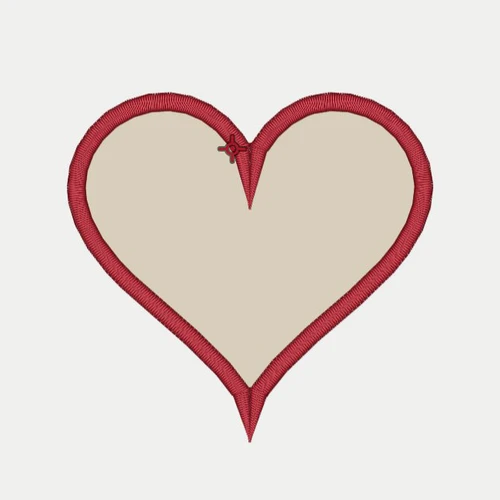 3. Cover
Sew the border over the edge to finish the shape.
You can choose the fabric colour, tack-down and cover styles, or use pre-cut fabric instead of trimming in place. The export can also include a full-size SVG cut file with the fabric pieces numbered in sewing order. You even have an option to mirror them for tracing on fusible web!
Make room for a little pattern
Want a bit more fantasy instead of basic fill patterns? Motif fill repeats a small motif in rows across a shape. You can change all the parameters: its size, spacing, row offset and rotation, as well as how it meets the edge.
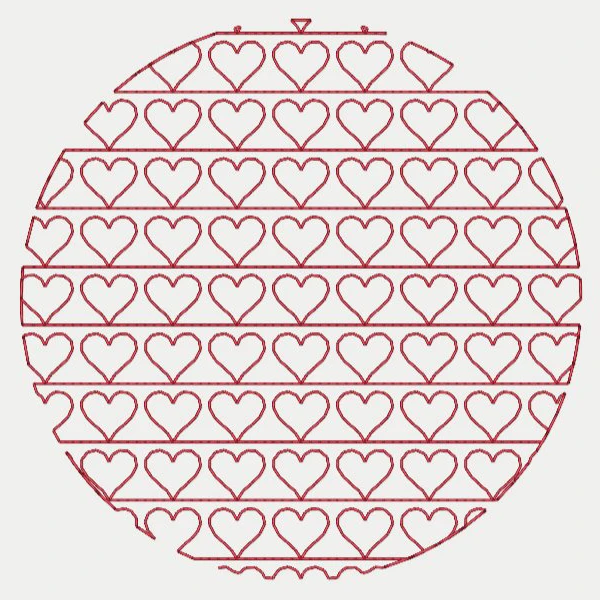
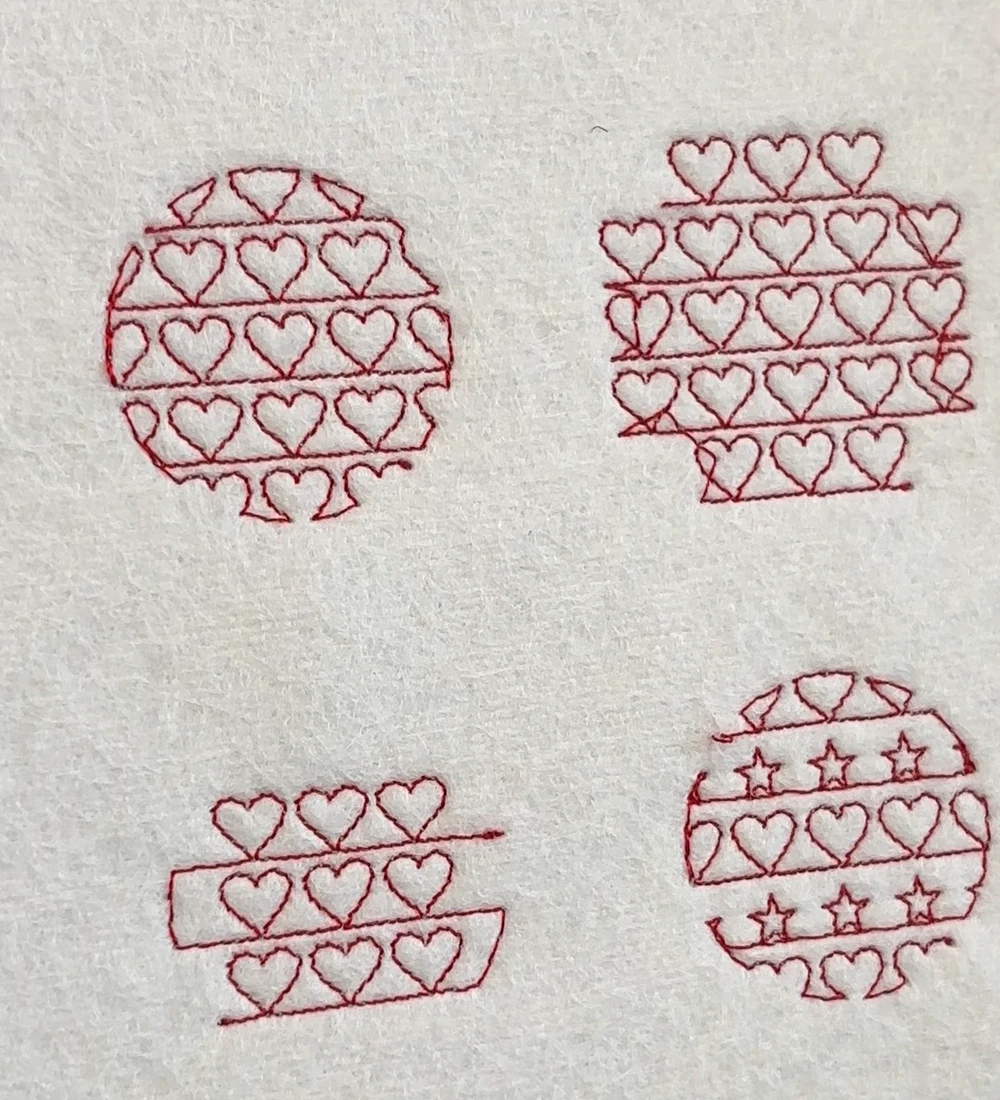
Motifs along lines
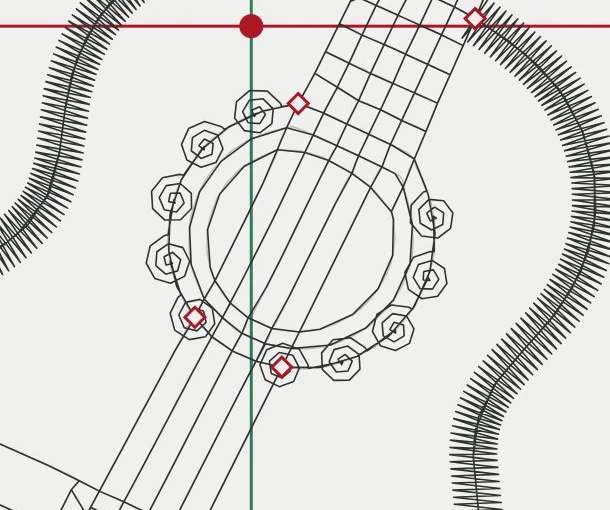
Motif run: repeat one of 19 motifs along a line, as with the guitar’s spiral rosette. Select a line, choose Motif run and pick a pattern.
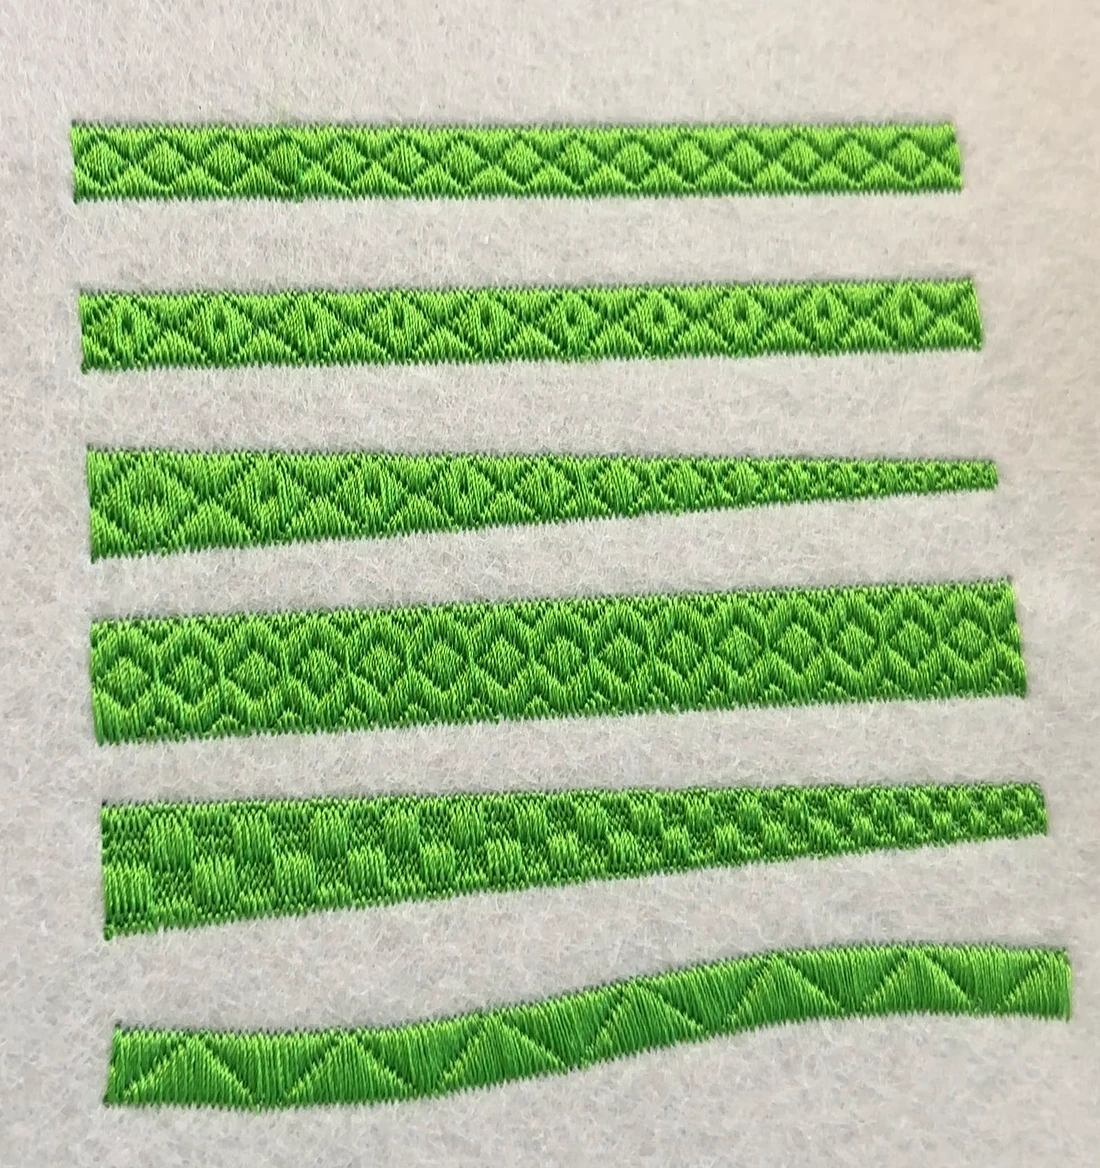
Patterns inside satin columns
Motif column: repeat motifs along a satin column, following its width. Flexi Split lays a tatami pattern inside a satin column, following its stitch angle.
What is free, and what needs Pro?
You can try the new tools and preview the results entirely for free before upgrading. However, most of these features need Pro to export. Here is how exporting works for these features in 1.3.3:
| Feature | Export access |
|---|---|
| Line art you draw or edit | Pro |
| An unchanged line-art drawing made by the AI | Any plan; generation uses credits |
| Magic wand results | Pro |
| Appliqué, Motif run, Motif fill, Motif column and Flexi Split | Pro |
| Divide by drawing | Free; the resulting pieces are ordinary shapes |
See plans and pricing for the full comparison.
Get Boldbobbin 1.3.3
On desktop, look for the update button on Boldbobbin’s home screen, or download the latest version for macOS or Windows.
New to digitizing? Our step-by-step beginner tutorial takes you from setting up Boldbobbin to your first stitch-out.
A normal click selects the piece between two crossings. Here, only the middle of the straight line is selected.