
Get started
This page will guide your first steps with Boldbobbin. It is divided into 6 parts and takes about 2 h 10 min to complete. By the end you will have designed and stitched your own embroidery.
Start with Part 1 Welcome to Boldbobbin5 minWe will explain to you what Boldbobbin does, who it is for, and what you will have made by the end of it.
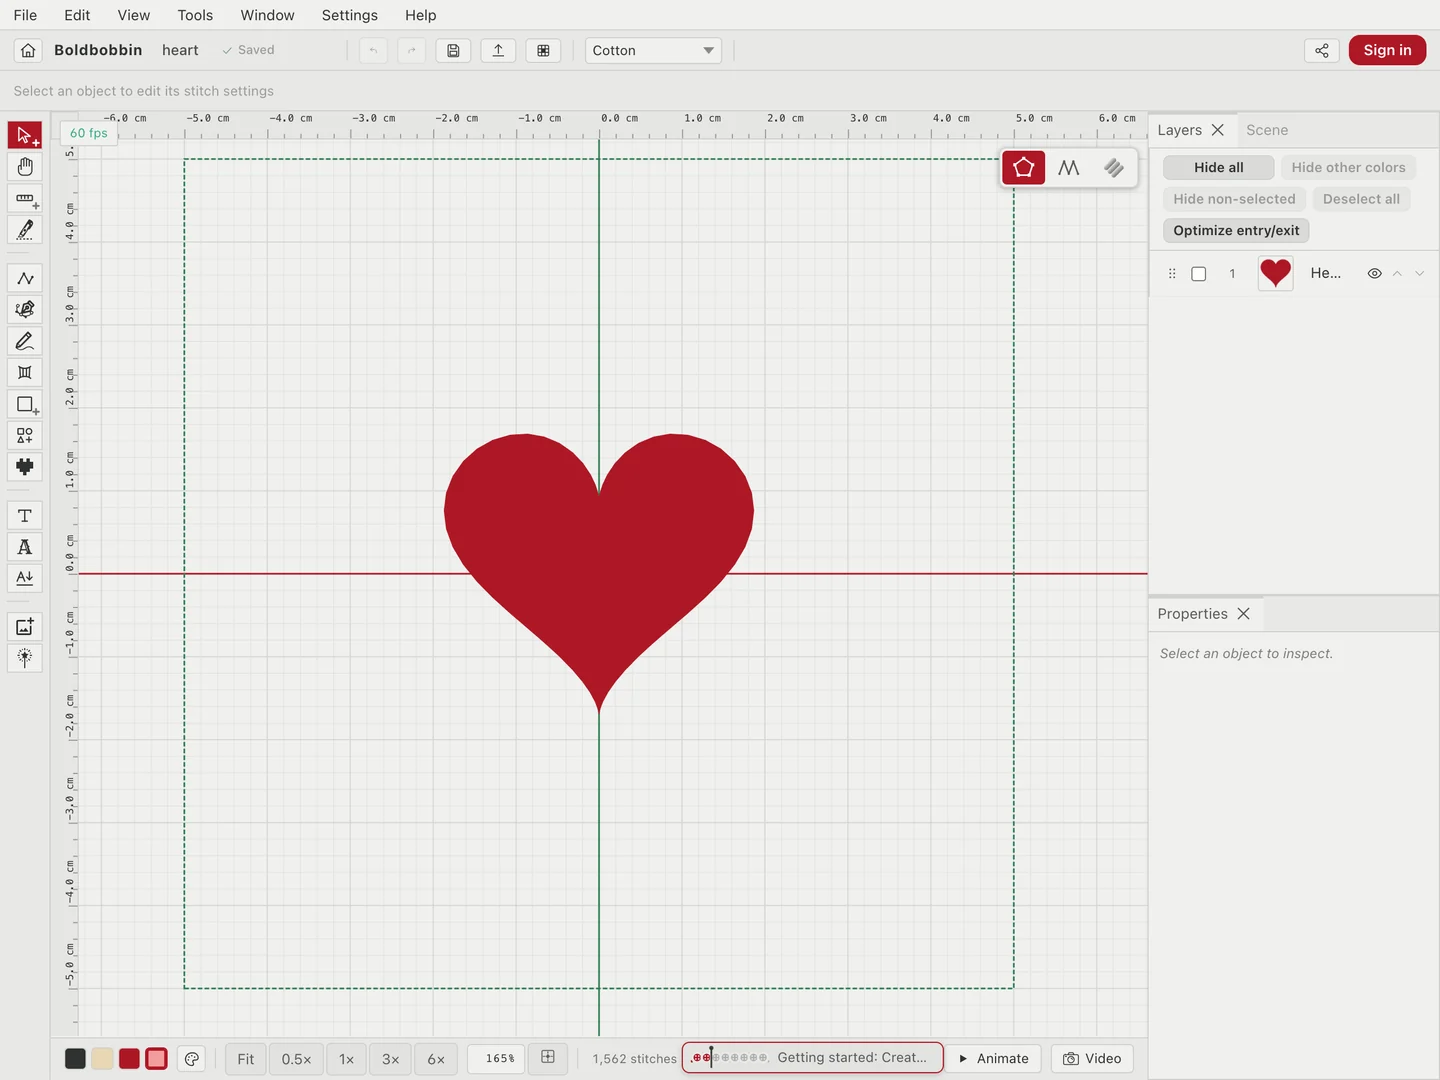 Setting up Boldbobbin10 minYou will learn how to make an account and how to set up the software for your specific device.
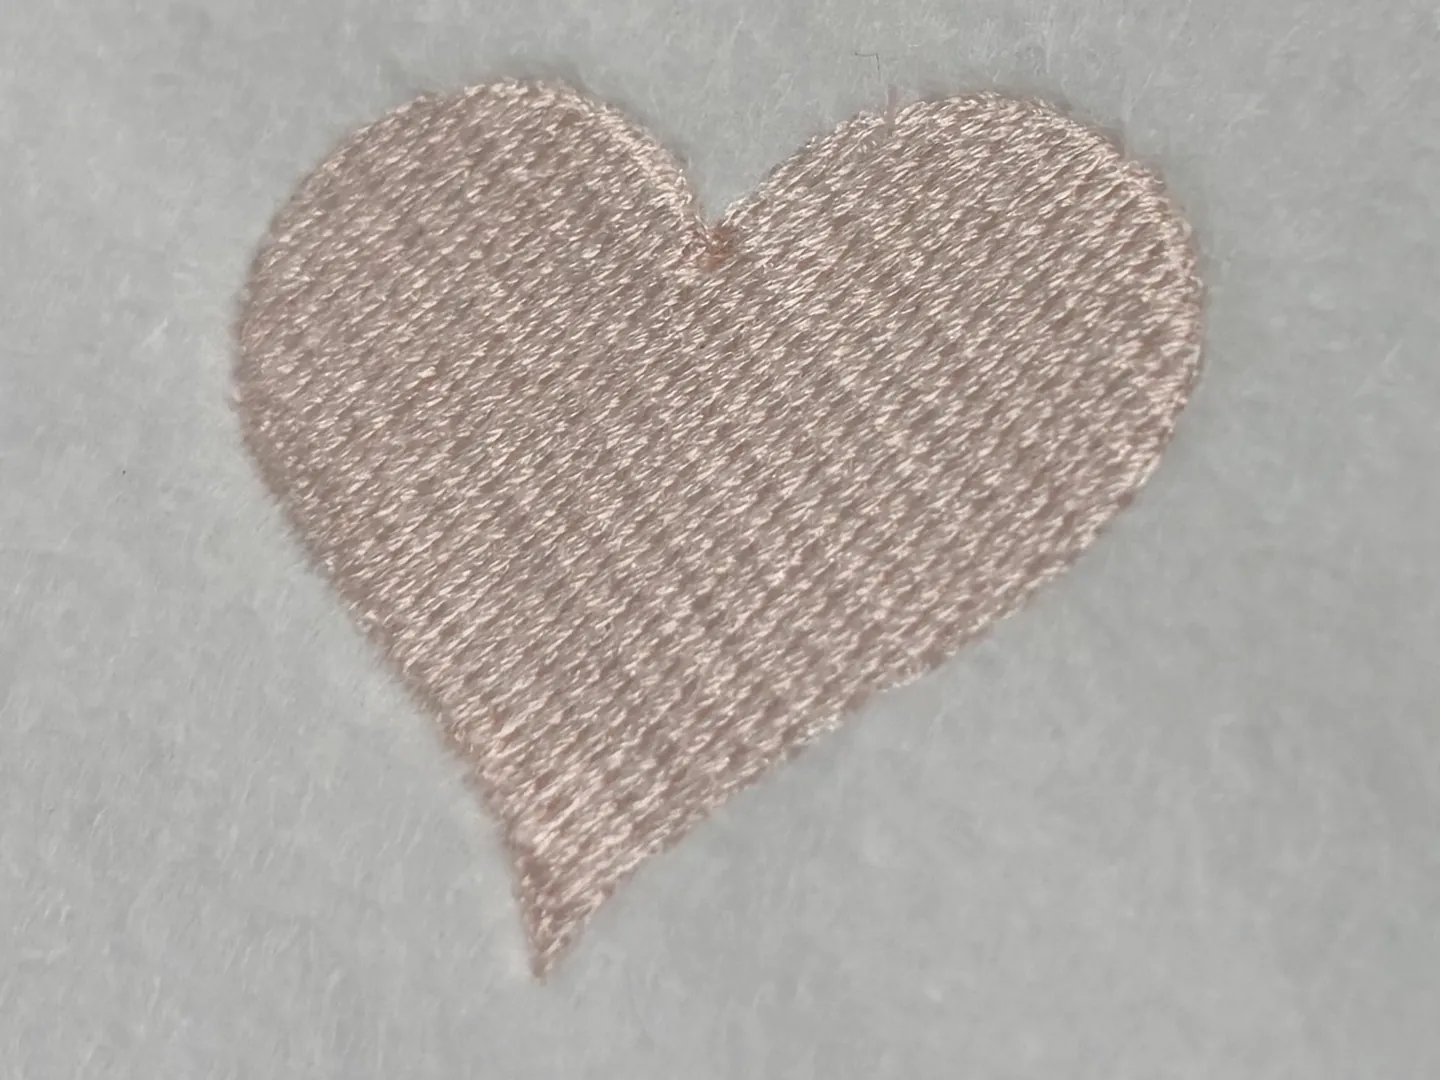 Your first stitch-out30 minOpen a template, change a few parameters, export it in your machine's format and stitch it. You end with your first real embroidery made with Boldbobbin! (how exciting)
 Trace your first design25 minYou will learn the core workflow of digitizing. Import a reference image, decide on a colour palette, and trace over the reference.
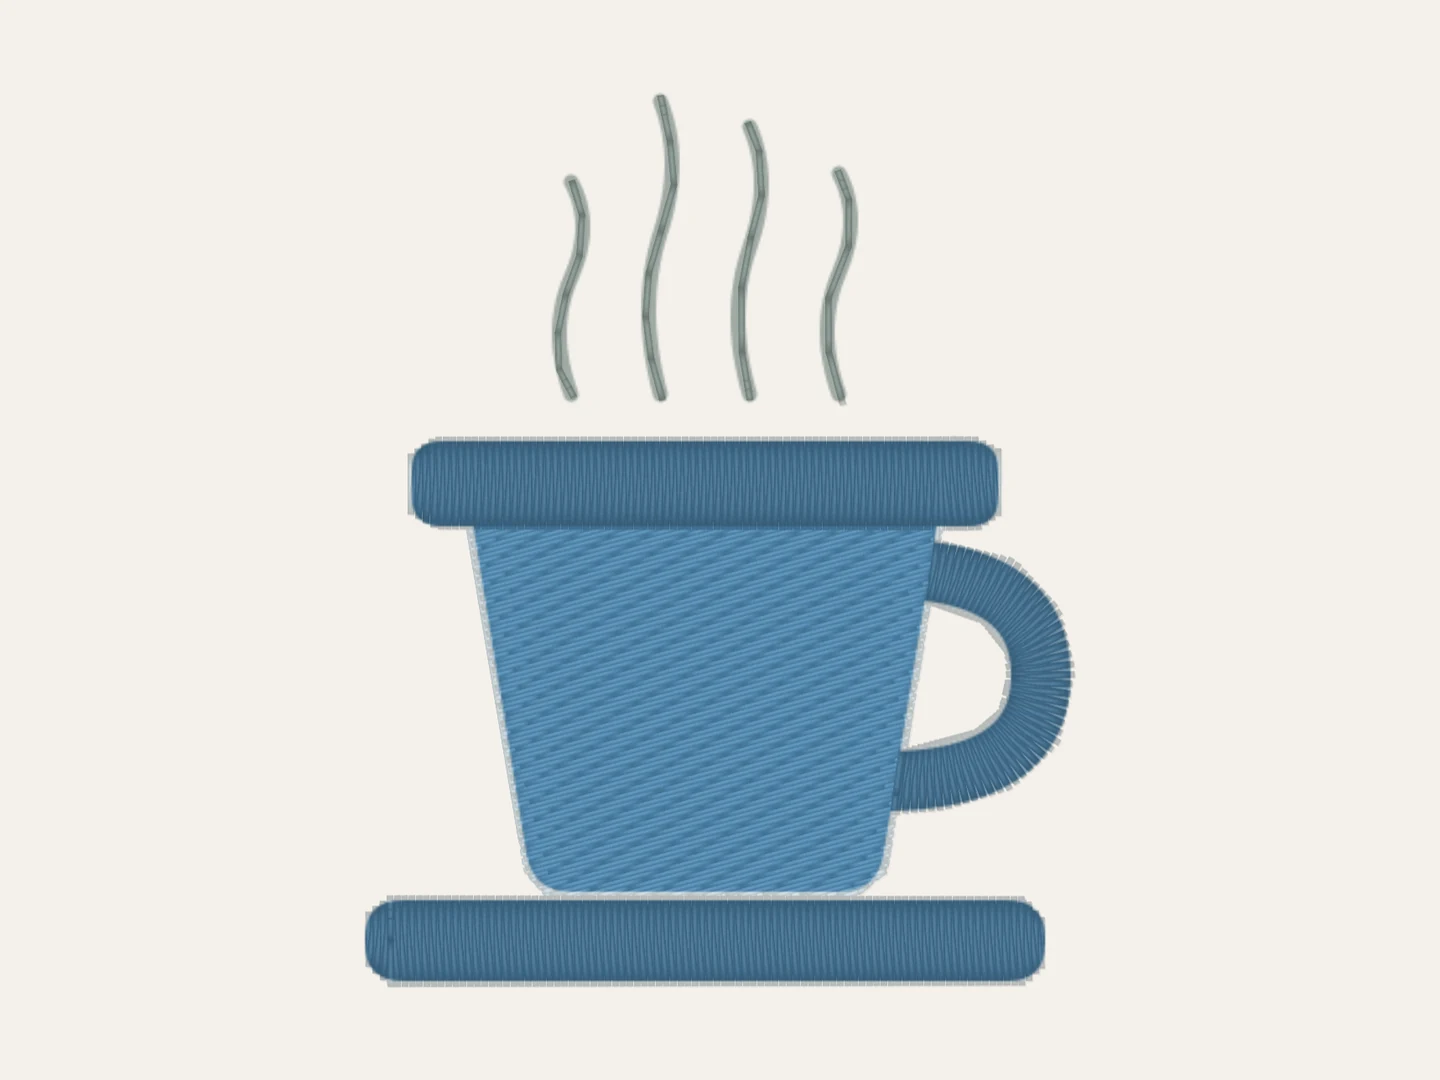 Satin columns and running stitches30 minAfter learning the basics of digitizing theory, you will use the two remaining main stitch types: satin columns and running stitches.
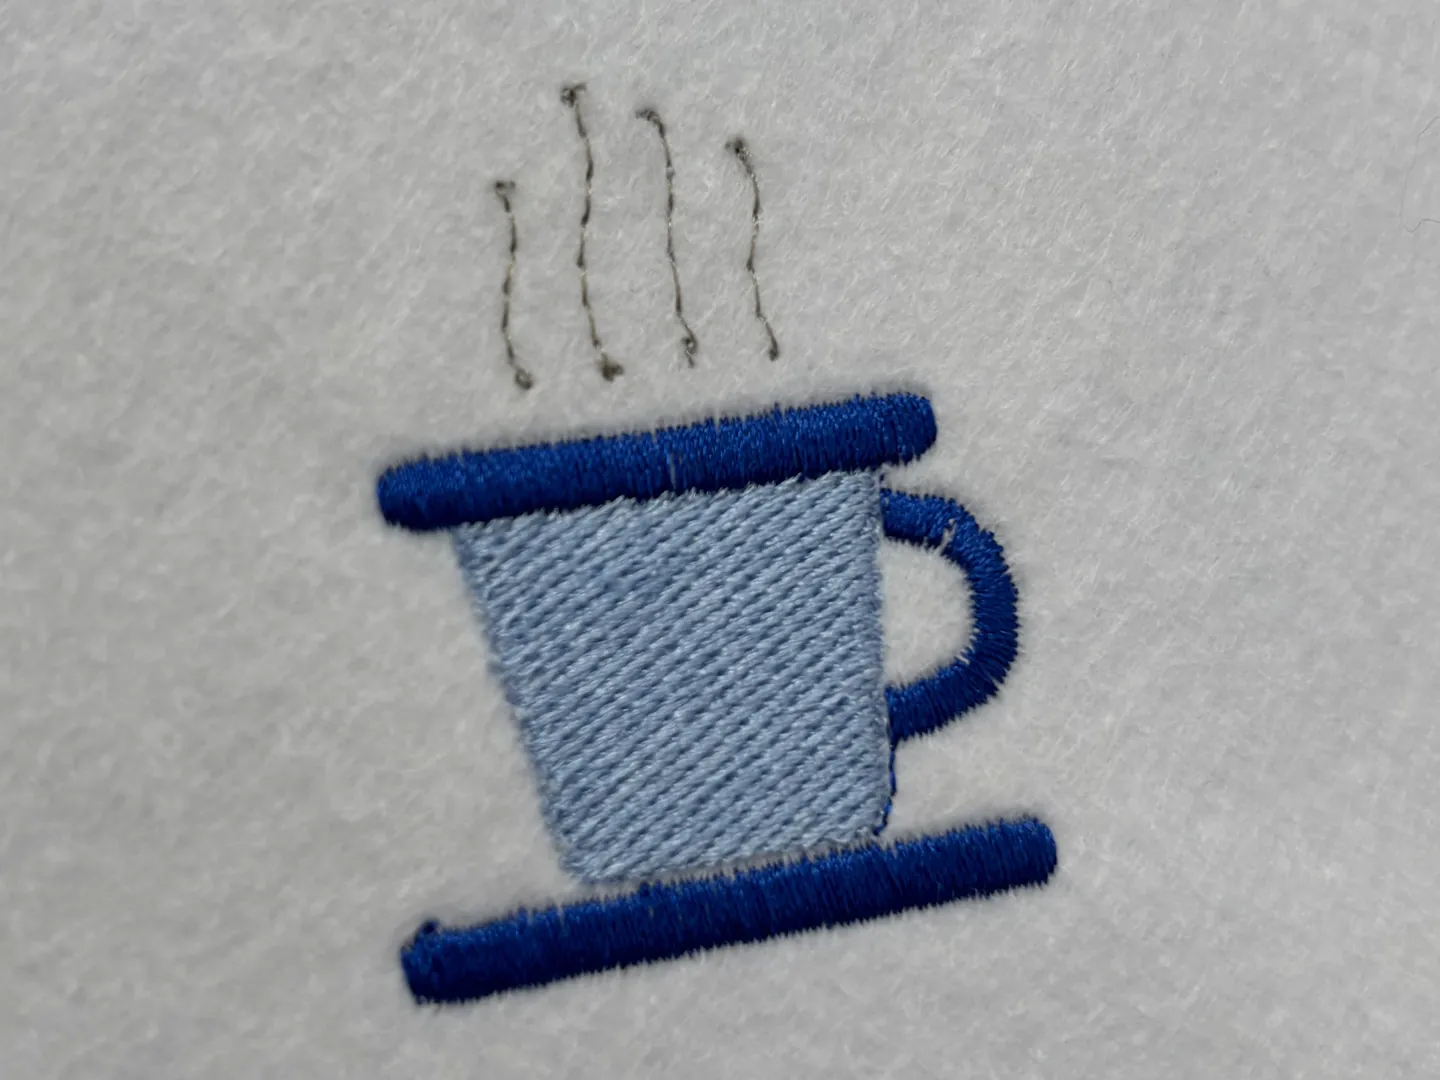 Tidy the path and stitch it out30 minThe design is traced, but you need to reorder the shapes and organize the jumps and trims for an optimal stitch-out. Then, you will embroider your own design!
 Where to go next
Optional
5 minAfter embroidering your own design, you might be wondering what else there could be to learn. In this section, we indicate where you could go for your next steps.
Where to go next
Optional
5 minAfter embroidering your own design, you might be wondering what else there could be to learn. In this section, we indicate where you could go for your next steps.