
Part 4 of 625 min
Trace your first design
You will learn the core workflow of digitizing. Import a reference image, decide on a colour palette, and trace over the reference.
In the previous part, you stitched a template design from Boldbobbin. This is the proof that everything is working end-to-end. But it is far from satisfying: what I want to teach you is how you can make your own design in the software. That’s why you are here in the first place! Let’s get started.
Digitizing generally doesn’t start on a blank canvas. Typically, you already have an image that you want to create as a piece of embroidery. It may be a picture of a pet (very popular!) or of a cherished memory like a wedding or a family picture. These are complex because you generally need to “stylize” the design a bit first. You are constrained by the finite number of threads that you have, and your needle needs to follow a path between the different parts! But sometimes it’s a flat design, and then digitizing is a lot simpler. You need to decide how to cover it shape by shape, and Boldbobbin will put the stitches automatically.
For the sake of simplicity, I will give you a design to digitize.

Once embroidered, it will look like this:
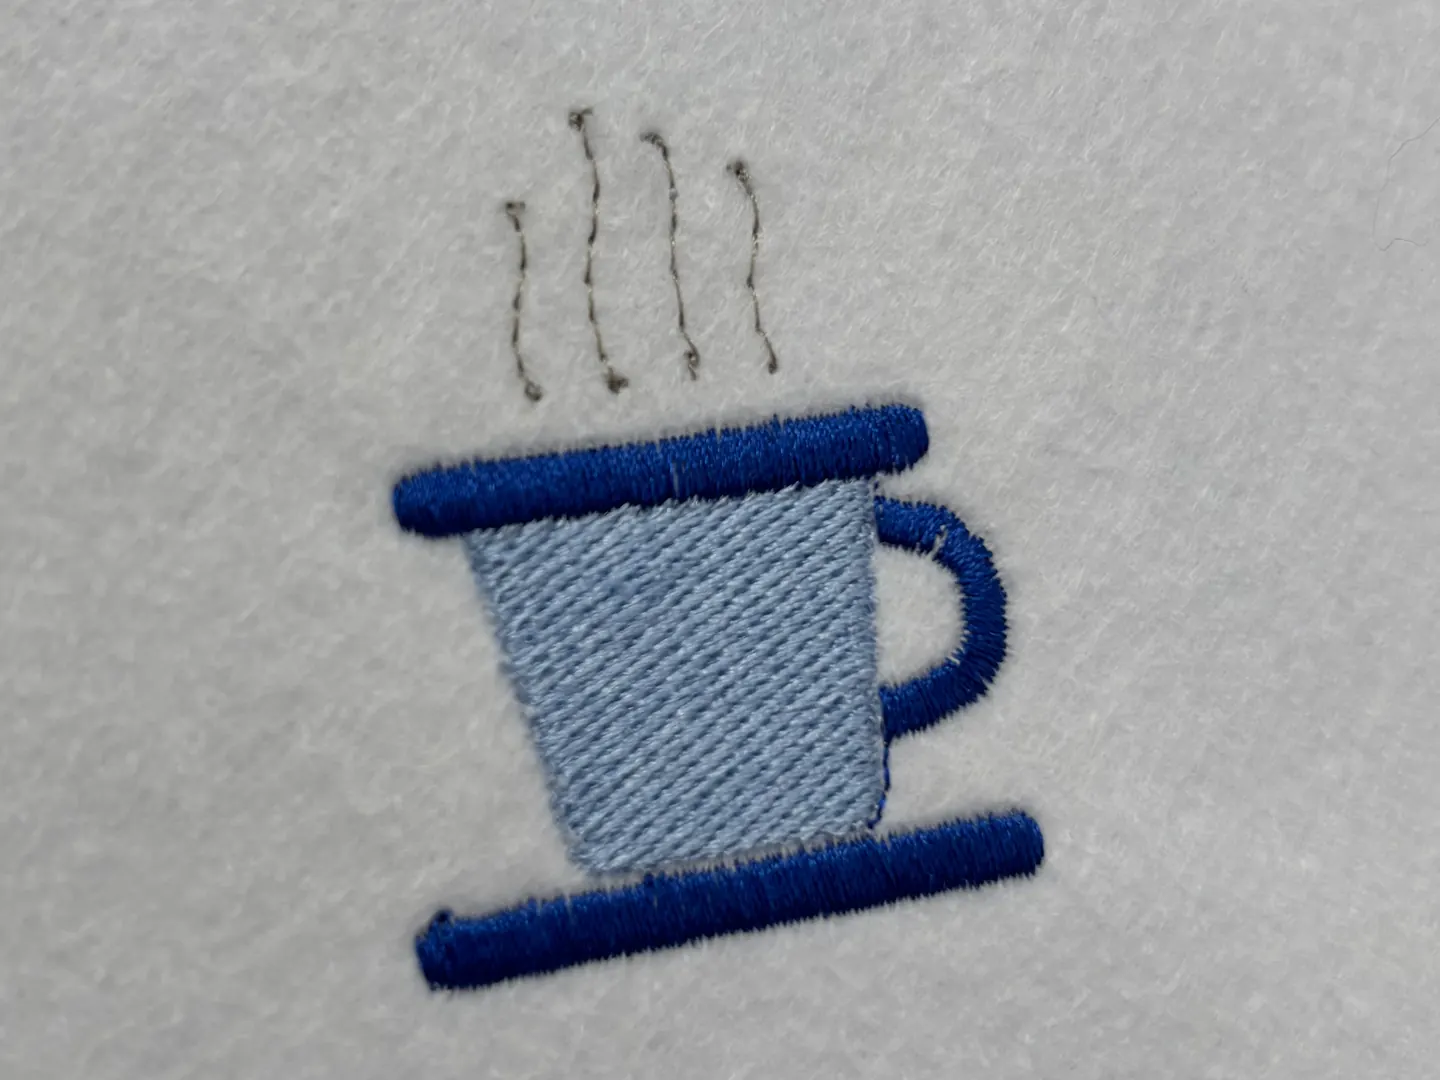
Pretty simple, but this will be your first digitized design. Excited? Let’s get started!
Put the picture on the canvas
On the home screen, click New Design.
Drag the file you just downloaded from your desktop onto the Boldbobbin window. You can also do File → Import → Import reference image… at the top of the window.
The Place reference image dialog opens. Set Width to 60 mm. Keep
proportions is ticked, so the height follows. Leave Opacity at 70%, and
click Place image.
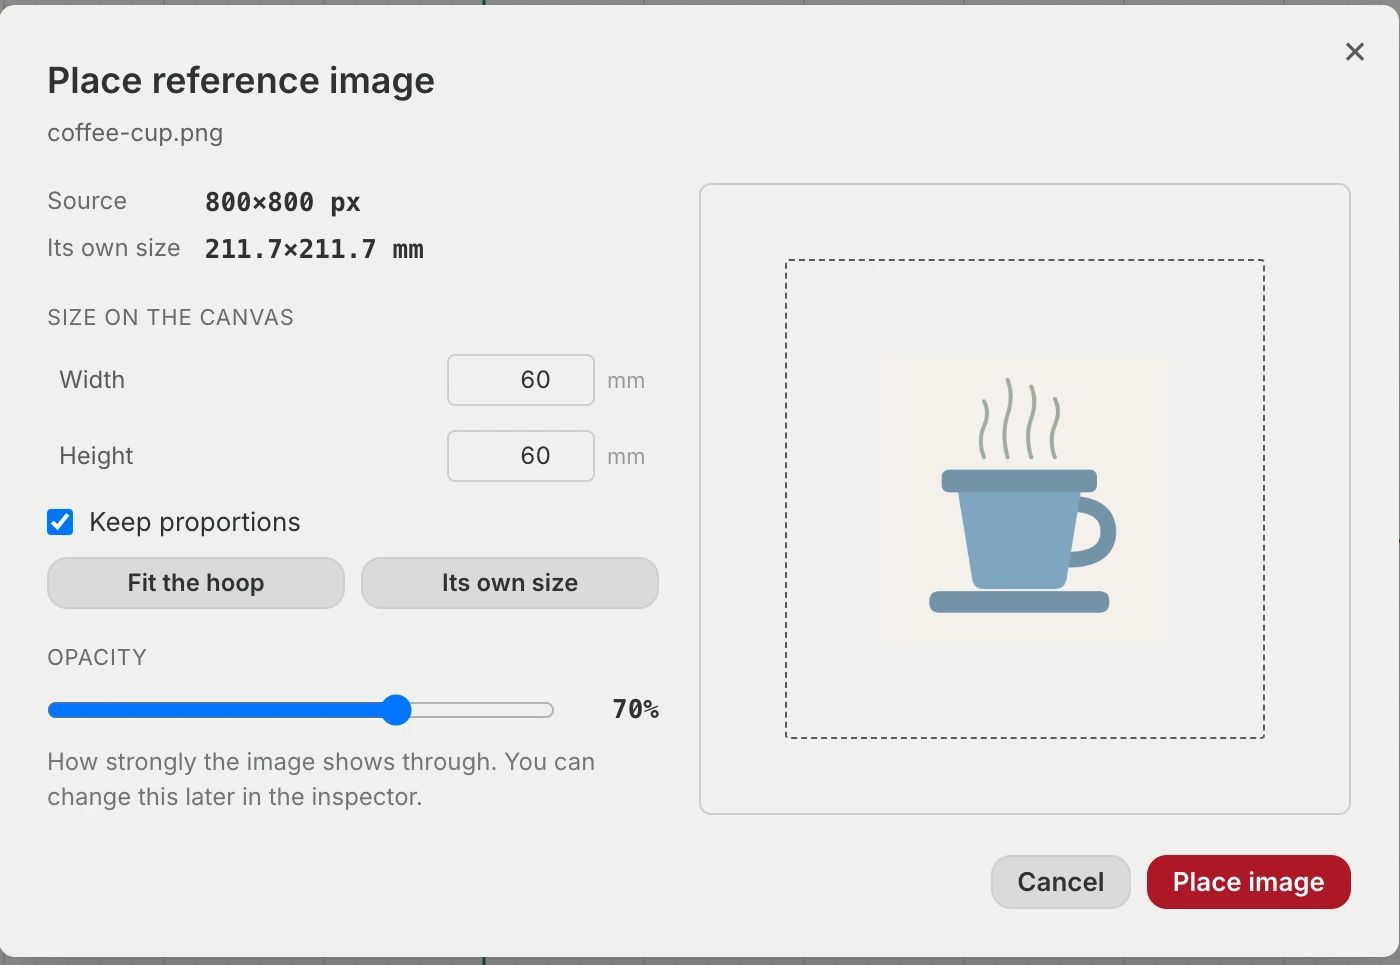
The picture lands in the middle of the hoop. It is what we call a backdrop: Boldbobbin never stitches it, and it always draws behind whatever you make, wherever it sits in the layer list. Its row in the Layers panel carries a ref tag instead of a number for this reason.
Click an empty part of the canvas to deselect it.
Set up your view
Click 3× in the bar along the bottom, then Center on hoop, the button just to the right of the zoom percentage.
To move around while you work: scroll or swipe to pan, hold Space and drag, or press H for the Pan tool. You can also click the hand in the left toolbar. Cmd or Ctrl with the scroll wheel zooms.
Create your colour palette
The cup needs three threads: a blue for the body, a darker blue for the rim, handle and saucer, and a grey for the steam.
To do so, click the Edit colors button at the bottom left of the window, the one with the palette icon . You should see this:
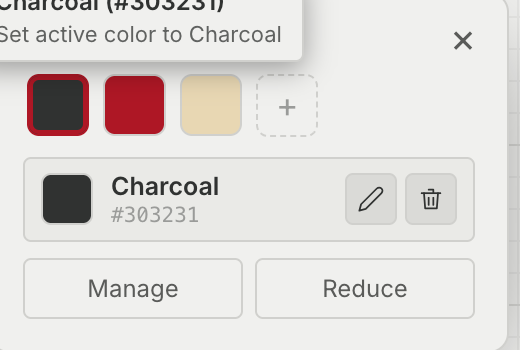
Then do this:
- Click a swatch to make it the active colour.
- Click the pencil beside its name.
- Choose a colour from the colour selector. The bottom line is called the hue and determines what colour you will get. Slide it to blue. Then in the square above it, you can choose the variation of this colour.
- Click on the Save button.
You can follow the steps below:

Do the same for the darker blue and the grey.
Another way to set a colour is to type into the HEX field. A hex code is one of the many ways to describe a colour. Creating a colour palette is a delicate task, but there are many tools online such as this one that can help you. For this tutorial, the colours we use are:
#4E86ADfor the sky blue body of the cup#3E6B8Afor the dark blue rim, handle and saucer#7E8C86for the grey smoke
Remember that when doing embroidery, the colours in the software are only indicative. What matters is the thread you put on your machine!
Trace the body
We will now trace the main part of the cup, which means reproducing its shape by hand in the software. To do so, select the Pen tool, either by clicking on the pen icon in the Editor group of the left toolbar or by pressing P on your keyboard. Make sure the body blue is the active colour by clicking on it at the bottom left of the screen.
Click once at each corner of the cup body without dragging the mouse. Do single clicks to create straight lines. If you drag the mouse, you will create a smooth curve, which is not necessary here.
To finish, click the first anchor again as that closes the shape. This will create a filled shape. You can see below what it should look like. Click on the “Show me” button for a demonstration.
If you make a mistake, backspace removes the last anchor you placed, Esc throws the whole path away, and once the shape exists you can double-click it with the Select tool to edit the anchors you placed. You can also click on the shape to select it, press the backspace button to delete it and start over!
Your first traced object
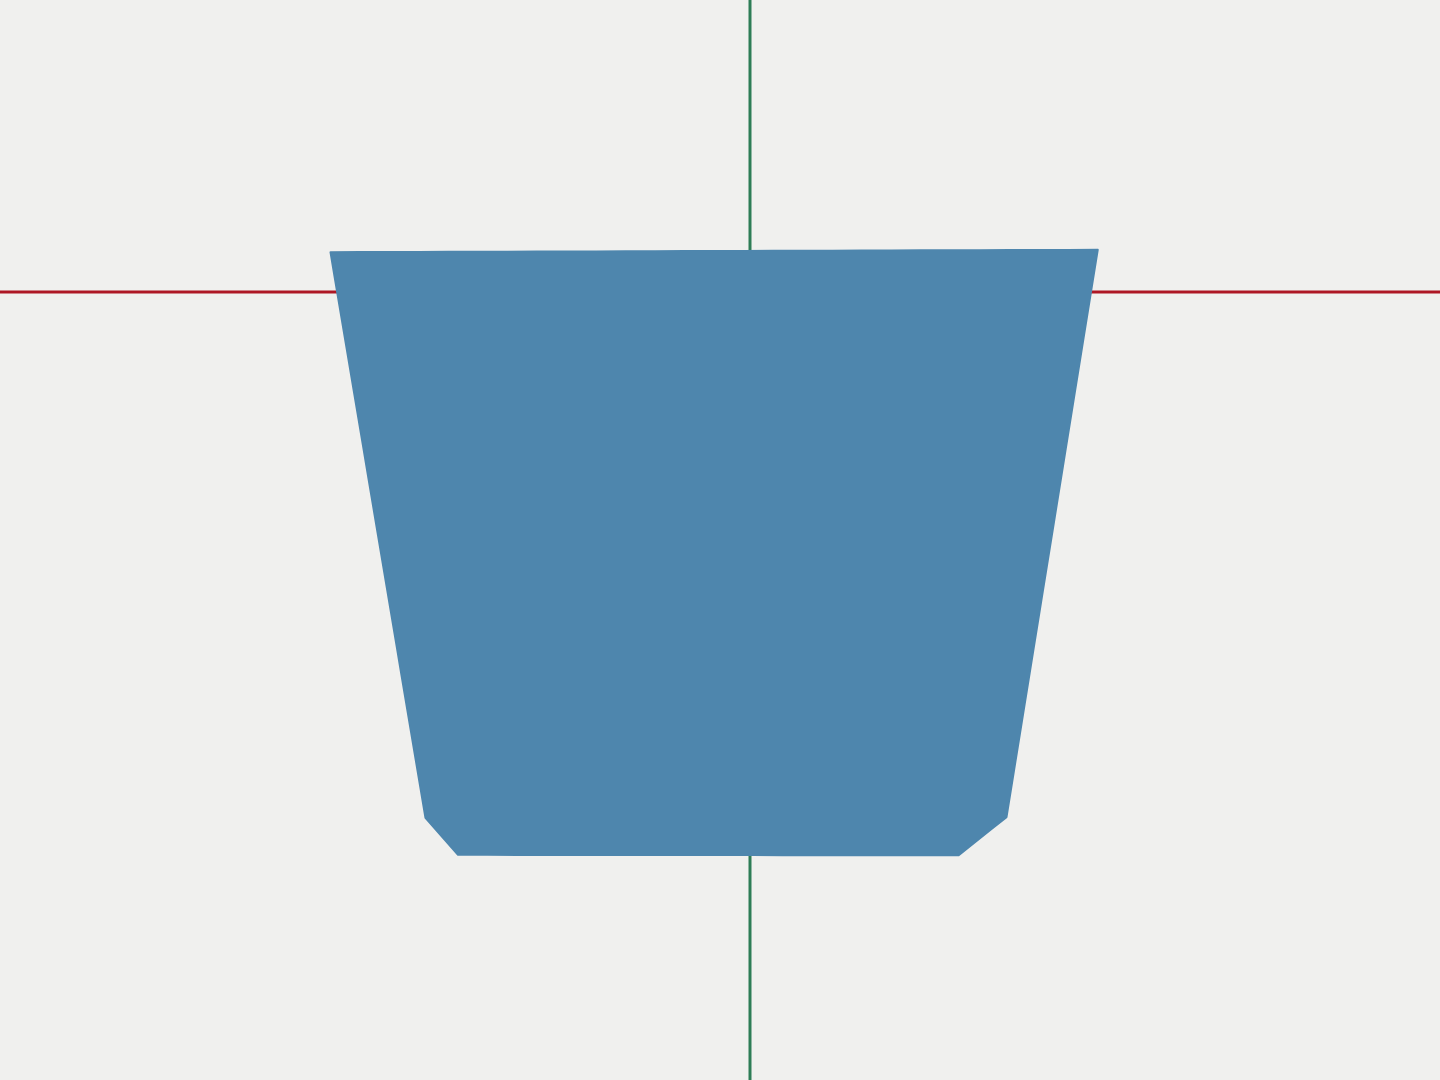
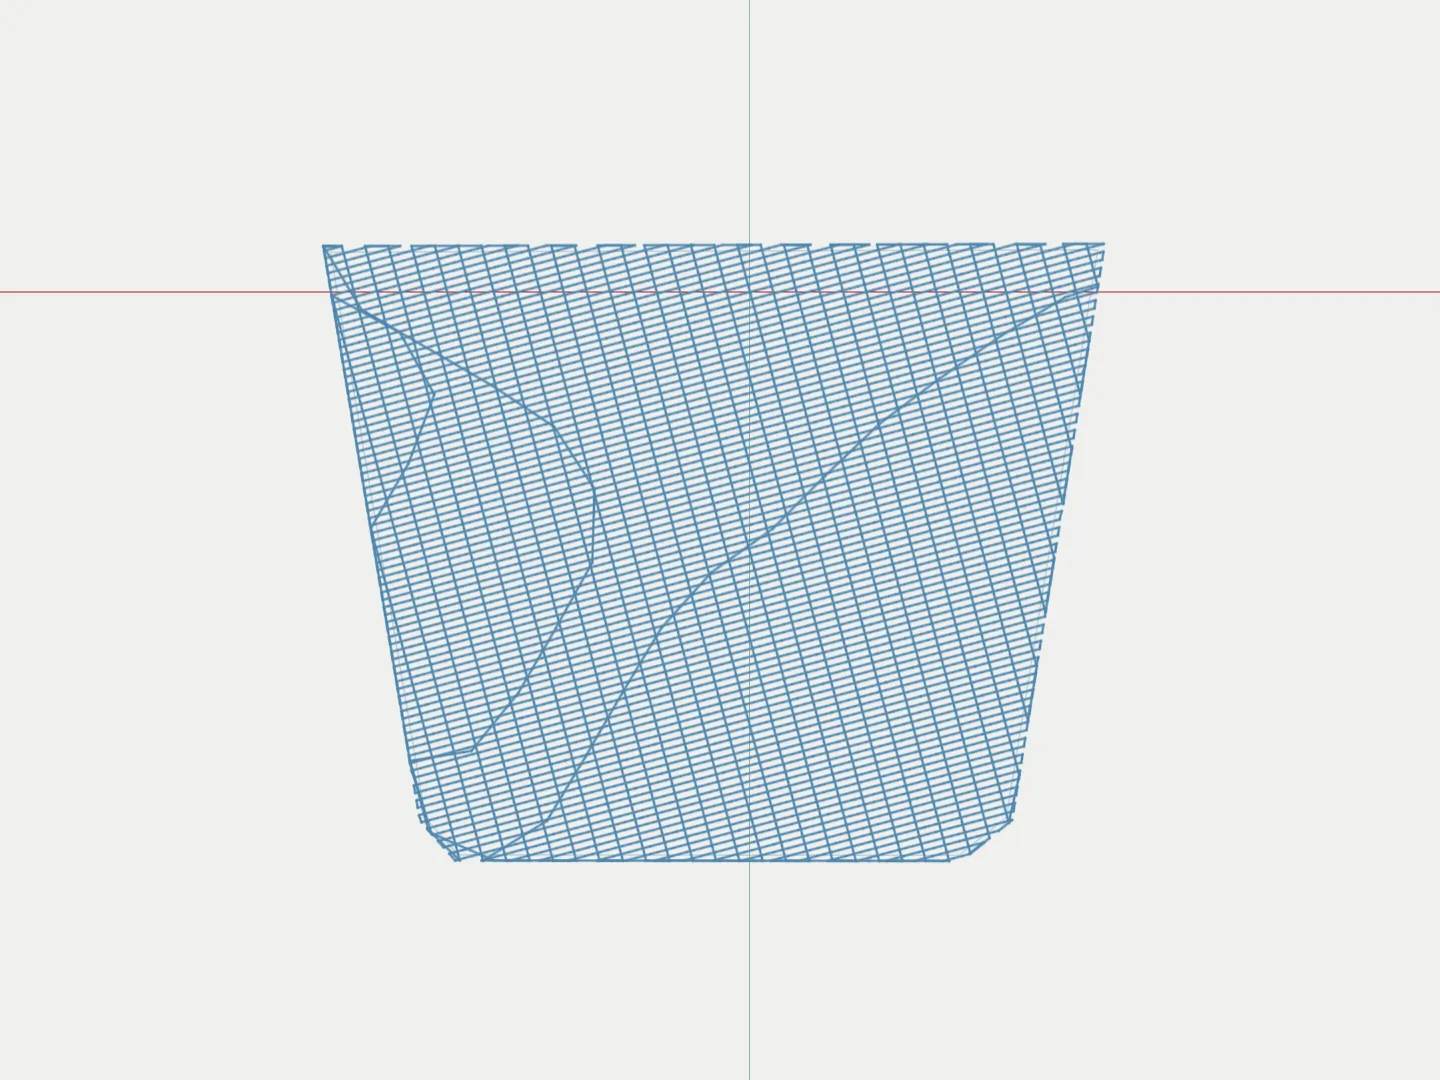
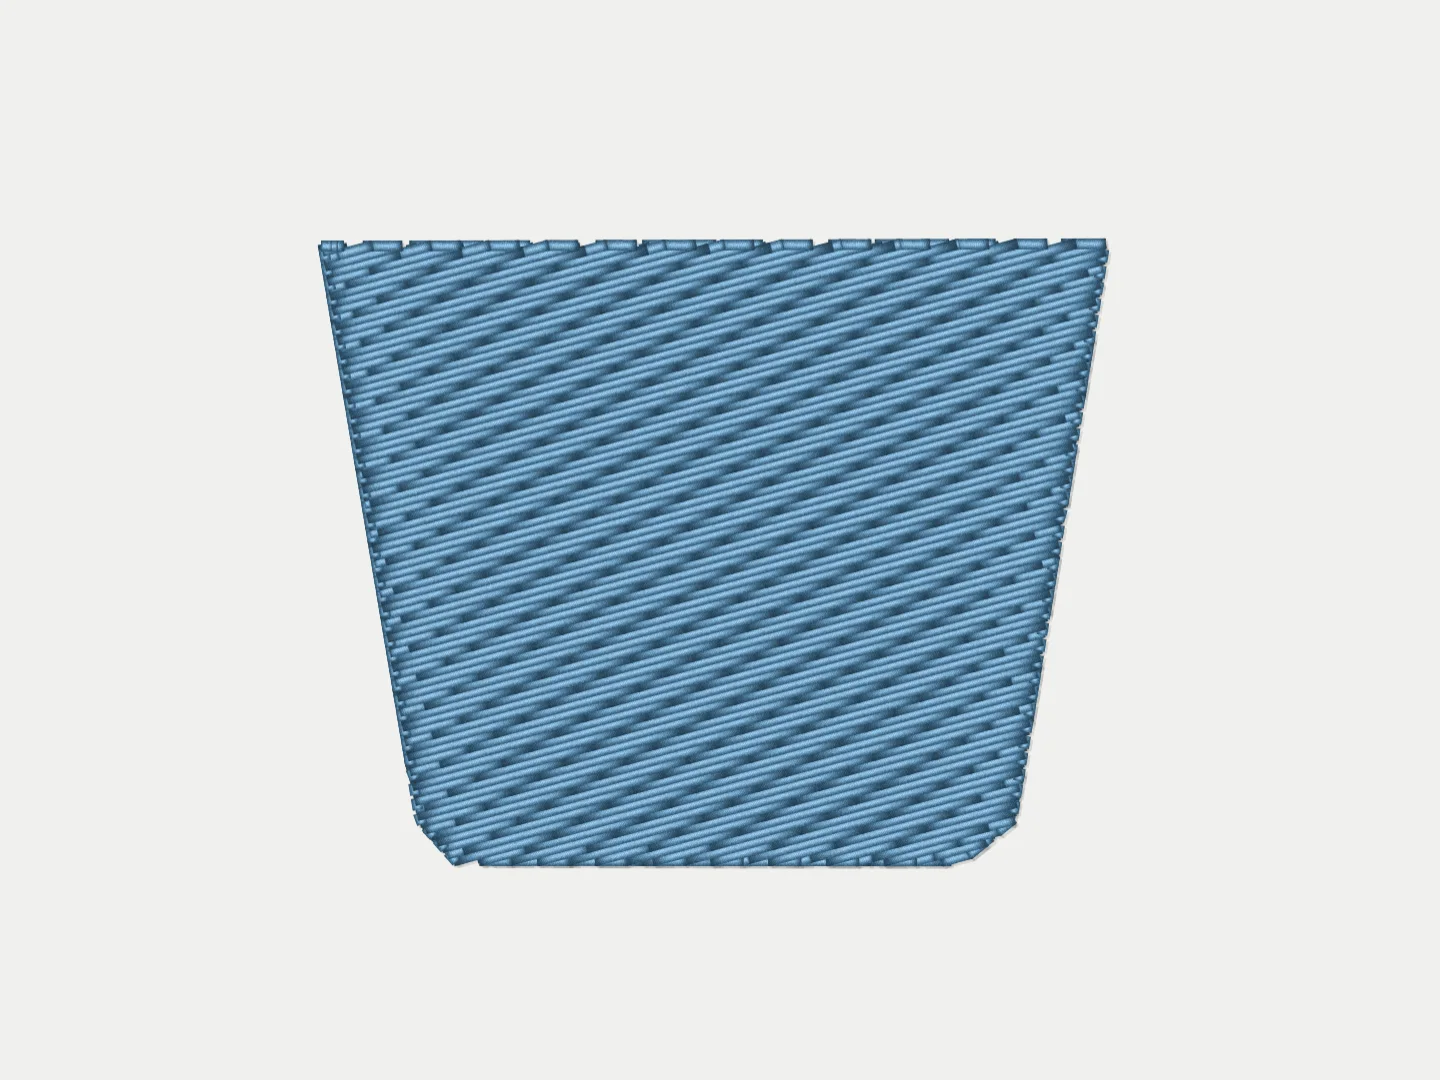
You should see this on your canvas. If you do, congratulations, you have created your first object! What you have done is called “vector tracing”. It is actually of broader relevance than embroidery: many designers use vector tracing to create various shapes for logos or animation.
From this outline, Boldbobbin automatically computed hundreds of stitches that fill the shape. Everything from here is more or less the same decision routine: you decide what shape you want to create, what kind of thread coverage it needs, and you trace it by hand.
In the next part, you will continue to work on the cup design with two different stitch types: satin and running stitch.