
Part 5 of 630 min
Satin columns and running stitches
After learning the basics of digitizing theory, you will use the two remaining main stitch types: satin columns and running stitches.
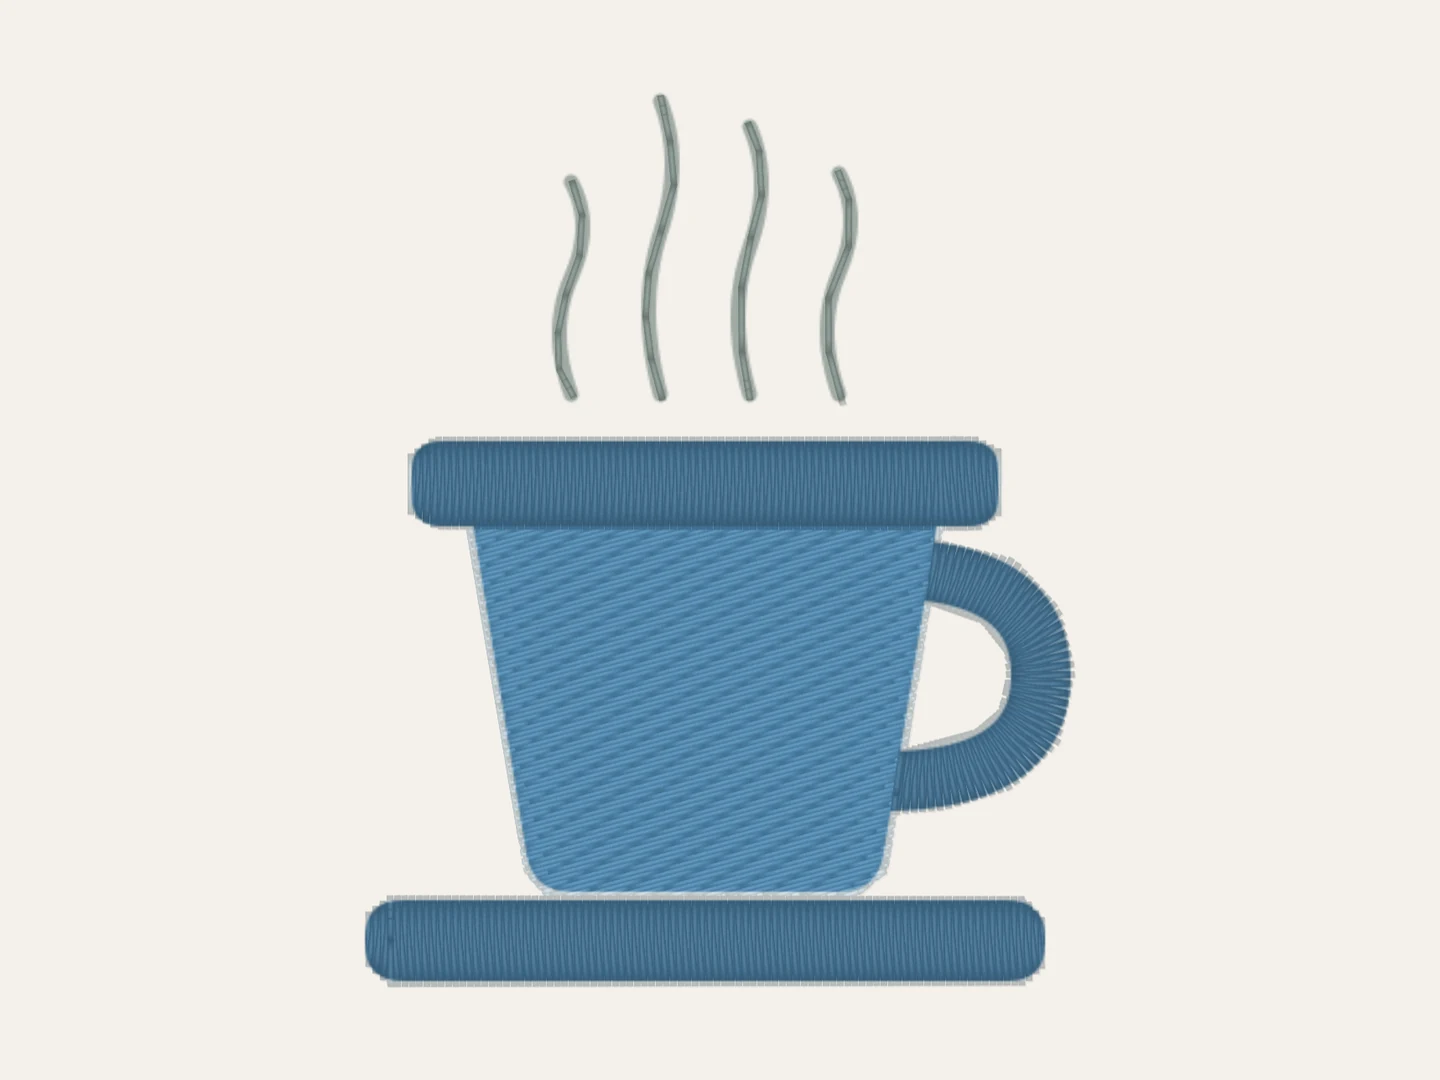
So far, you have done the body of the cup. It is a broad area, so we used a tatami fill to create it. However, the other parts of the design are different. The rim, the saucer and the handle are narrow bands, and the steam is a thin line. For this reason, we need other stitch types. This is the perfect moment to learn a bit about digitizing theory.
Digitizing theory 101
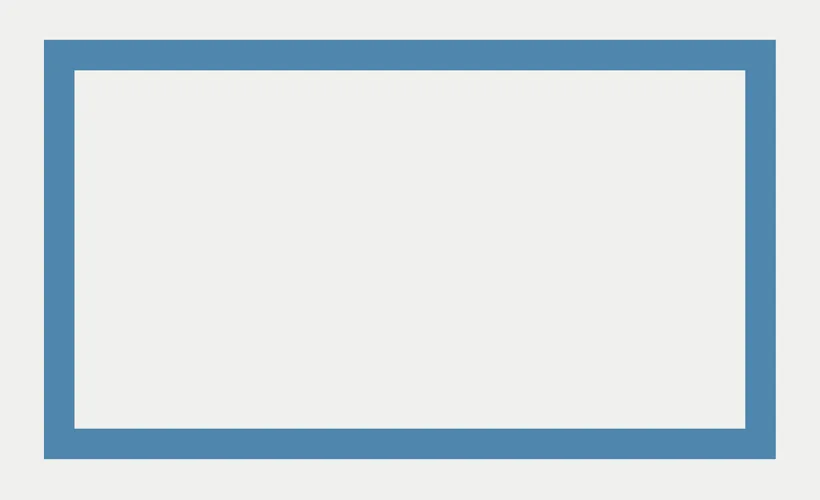
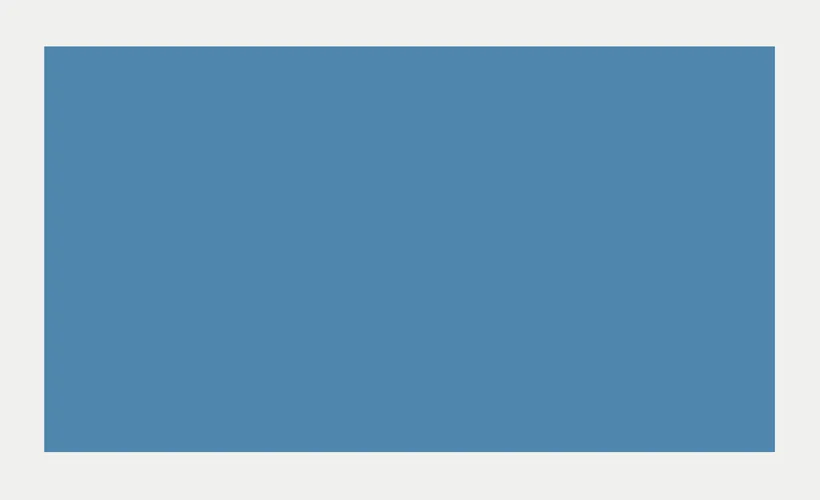
In the realm of embroidery, three stitch types do most of the work: the running stitch, the satin stitch, and the tatami fill. Other stitch types are typically variants of these three (obviously there are exceptions, like cross stitch). Below is a summary of all three.
| View | Running | Satin | Tatami |
|---|---|---|---|
| Vector | 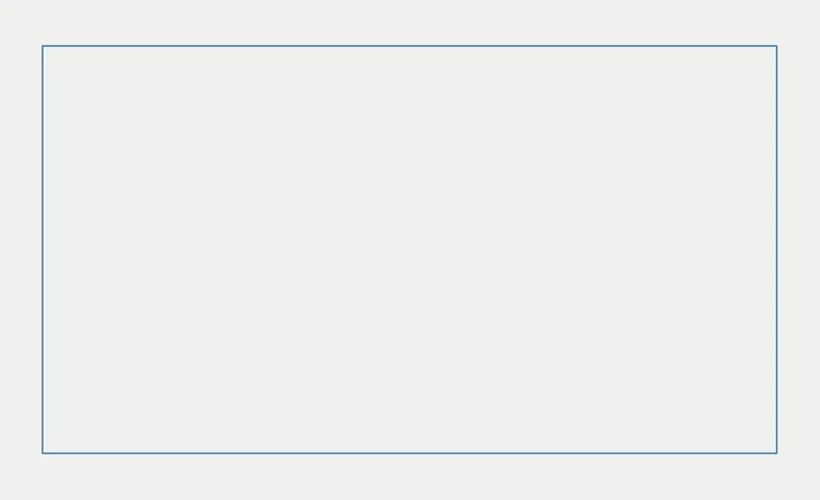 |
 |
 |
| Stitch |  |
 |
 |
| Realistic |  |
 |
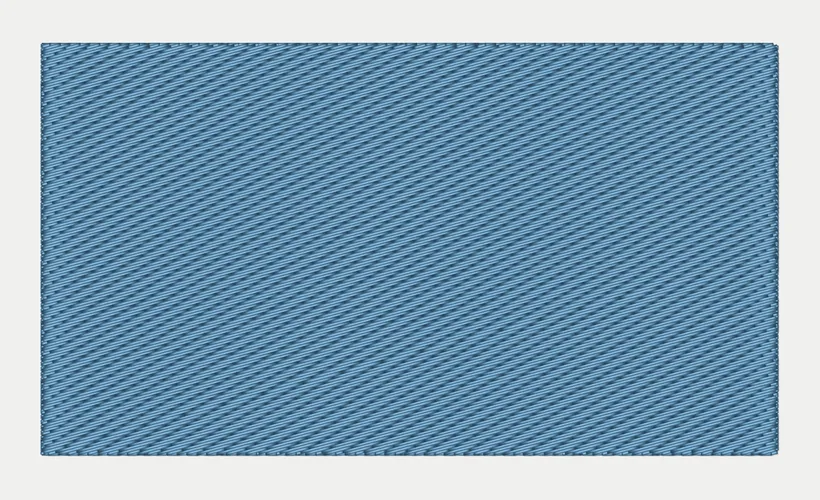 |
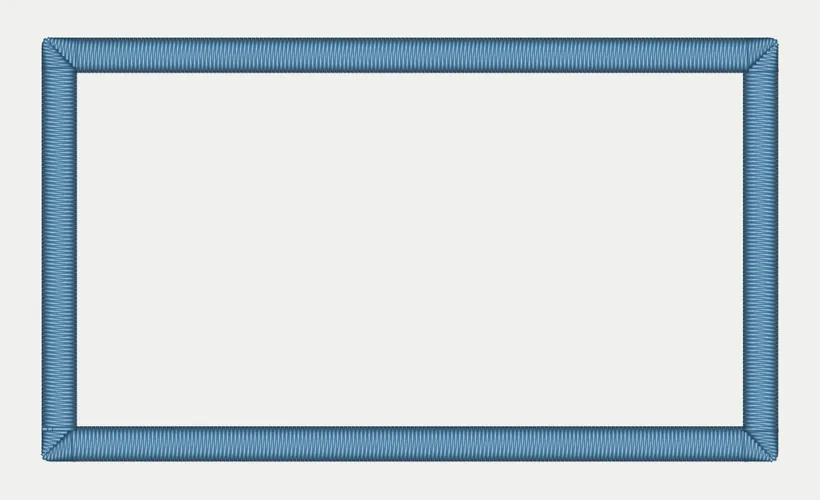
| Use it for | Thin outlines, connections between different areas, details. Like the steam on the cup. | Narrow bands or outlines that "pop". Like the rim and the handle. | Big shapes and fill effects. Like the cup body. |
Let’s go into more detail on each stitch type.
Running stitch
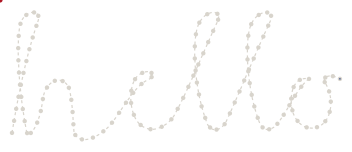
Running stitch is the simplest of the three. Its stitches are drawn in a line, one after the other. It is basically the embroidery counterpart of a one-dimensional thin line.
It is primarily used for creating fine outlines or adding small details to a design. For instance, the whiskers of a cat can be done using running stitch! Running stitches can add some shading effects and a lot of realism to a design. Digitizers sometimes use tools to draw lines that are converted into running stitches, but it is also very common for them to place stitches manually to add these realistic effects to their designs.
If you look at the example above, the word “hello” is one line from start to finish. It is drawn without the pen ever leaving the paper, so a running stitch can do the whole word in one go. (Satin stitch is usually preferred for text; this is just an example!)
Compared to the other two stitch types, it uses almost no thread. It was especially prized in a style called redwork embroidery, which was very popular in the second half of the nineteenth century!
Finally, running stitch is also what the machine uses to walk from one part of a design to another without trimming. We will come back to it in Part 6.
Satin stitch
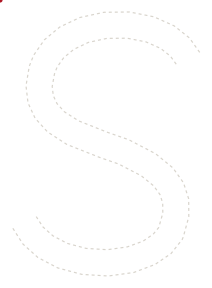
This stitch type is typically the most difficult to get right. In principle, it is used when you want to show bold outlines on narrow bands. But you can create various effects with it: it is possible to fill a shape using a combination of satin stitches. In doing so, you create more volume in your designs. This is typically the stitch to go for when you want a specific part of the design to really pop.
Here is how it works: every stitch crosses the shape from one edge to the other, side by side, like the rungs of a ladder. It is also used in fabric weaving, where it produces a particularly glossy and smooth material. The same physics principles apply to embroidery: because each stitch lies flat along its whole length, satin catches the light and comes out shiny, and its edges come out sharp. That is why letters and borders are nearly always satin.
It only works on narrow bands. When a band is too wide, each stitch is long enough to snag on things and damage your creation. There are ways to mitigate that, but they are out of scope for this tutorial.
Tatami stitch
When you deal with a big, flat, 2D shape, you want to use a fill stitch, like tatami. It consists of rows of short stitches, back and forth, until the shape is covered.
This is used for big areas. It looks flat because we typically add some randomness to the stitch positions, so that the ends of the rows are scattered rather than lined up. This is in contrast with satin, where every stitch is perfectly aligned with the last. Tatami therefore looks a bit duller, which is perfect for background elements.
Typically, the rows of a tatami fill are set at an angle that you can change. The same shape looks different sewn at 15 degrees and at 90 degrees, because the thread catches the light along the row. There is of course much more you can do with tatami fills in Boldbobbin, but let’s move on to the fun part.
Let’s put that into practice!
Now that you know a bit more about how to choose your stitch type, let’s go back into Boldbobbin and finish designing our cup.
Draw the rim
Click the darker blue to make it active.
Pick up the Satin column tool, in the Editor group of the left toolbar.
It works by alternating clicks to define a column. Your first click starts one edge, your second click starts the other edge, your third goes back to the first, and so on. You are laying down the two sides of the column, as if it were a ladder and you were placing its rungs.
On the cup design, work along the rim: click the top edge, click the bottom edge below it, move along, click the top, click the bottom. Four or five pairs is enough for a straight band. Press Enter to finish.
Press Show me how the column is built to watch the clicks alternate.
You will see thin arrows crossing the band from one edge to the other in the vector rendering mode. As mentioned earlier, those are called rungs, and they define the column.
Draw the saucer
Same tool and same colour. The saucer is another straight band, so it is very similar to the rim. Perfect for exercising your newly acquired skill.
Draw the handle
This one is a bit trickier because it is a curve, not a straight line. Like before, each click on the left edge is married to the click that follows it on the right edge. But on the outside of a curve, the edge is longer than on the inside, and if you space your clicks evenly along both edges the rungs will fan out and the thread will pile up on the inner edge.
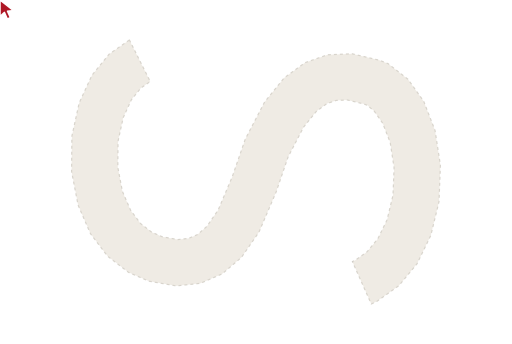
When working on curved lines, you need to place each pair opposite each other and straight across the band. It means that each rung follows the perpendicular to the curve. If this sounds too mathy for you (sorry), you should get it from the animation above. You can see that the cursor follows a straight line from one side to find the point on the other side.
Your turn! Draw the satin column of the handle.
Press Show me how the column is built if you are not sure how.
If it comes out wrong, undo and redraw. It is a handful of clicks and you will get it right the second time.
Placing manual stitches to create the steam
We will now create the steam effect. We will treat the wisps as thin lines and do something pretty simple. First, switch to the grey colour.
The steam is four thin wisps. We could do a satin column, but it would be a bit small. And for the sake of learning, we should use a different stitch type anyway. So we use a running stitch that covers the steam as a single line.
Press S for Individual stitch. Every click puts down one needle penetration. A dashed line trails from your last point to the cursor so you can see the stitch you are about to make.
Click your way up the first wisp, following the curve of the picture underneath. Six or seven stitches should be enough. Press Enter to finish it.
You can then do the second wisp, then the third and the fourth.
Each finished wisp becomes its own Stitch Block in the Layers panel, so you should end with four additional layers.
The shape is fully traced!
This was a lot of info: you learned about the three main stitch types and finished tracing your first shape. Congratulations!
However, we’re not exactly done yet. If you were to stitch this design, you would have to deal with many jumps and trims. In the next part, we will optimize your design to make it machine-ready.