
Part 3 of 630 min
Your first stitch-out
Open a template, change a few parameters, export it in your machine's format and stitch it. You end with your first real embroidery made with Boldbobbin! (how exciting)
This part gets you a finished piece of embroidery before you learn anything about digitizing. You will open a simple template design, change a few things, send it to your machine and run it.
Set aside about half an hour, including the embroidery part.
Open the heart template
On the home screen, under TEMPLATES, click Heart. It opens on the canvas. If you followed the previous section, you should already have it open.
Change its colour
Click the heart on the canvas. The Properties panel fills with its settings, and at the top, beside the word Heart, is a colour swatch. Click it.
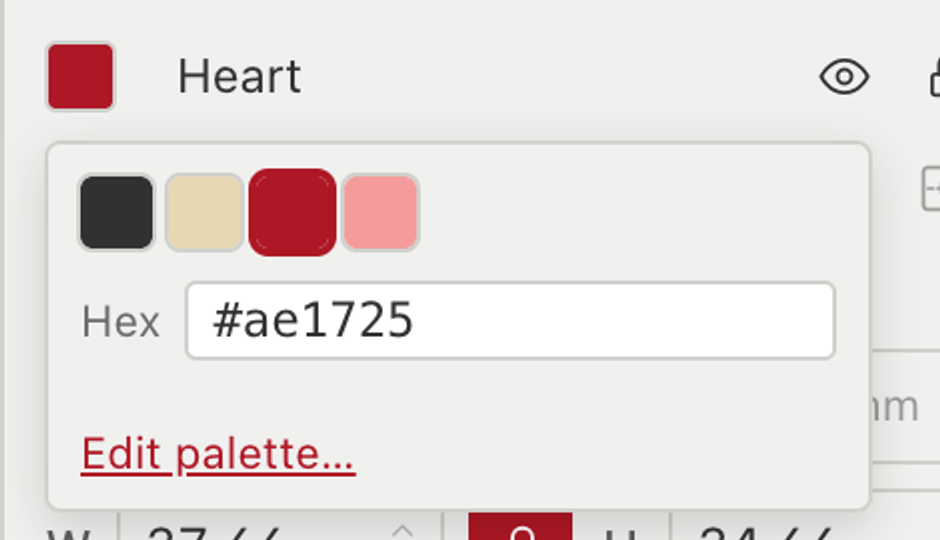
Click on a colour you have thread for. Of course, the colour on screen is a note to yourself about which spool to put on the machine. The machine stitches whatever you threaded through the needle.
Visualize your design
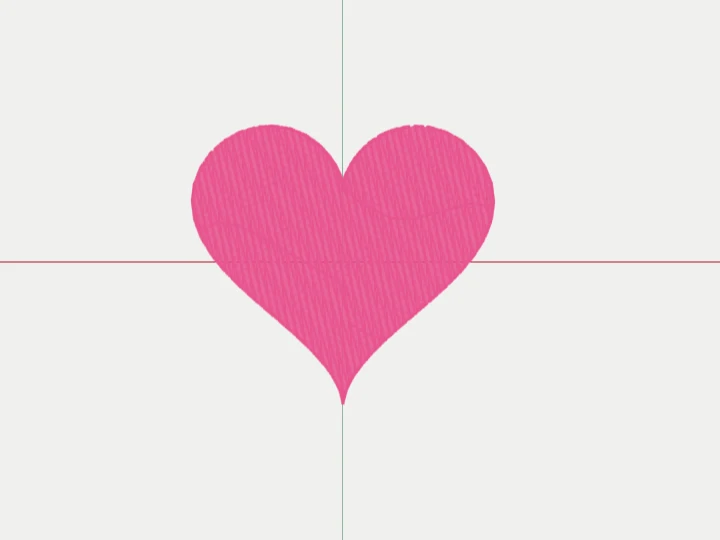
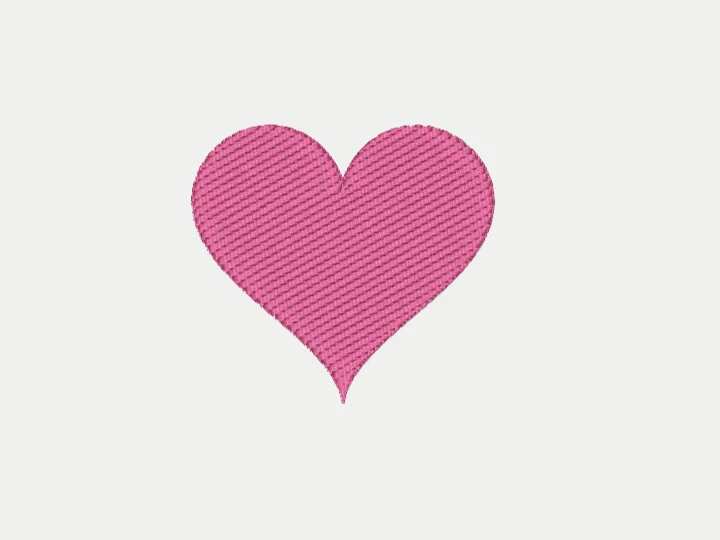
Three buttons sit at the top right of the canvas. They change how Boldbobbin shows the design.
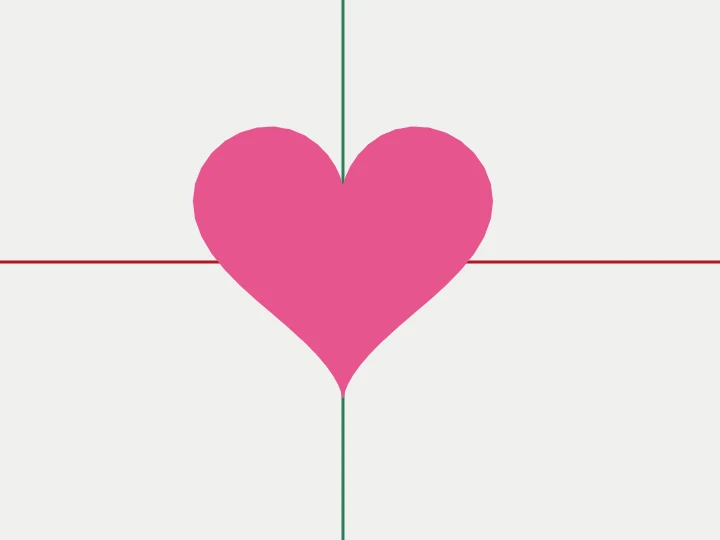
Vector is the shape itself, drawn flat. It redraws instantly, so it is the mode to use when tracing.
Stitch shows every stitch the machine will make, and the thin lines where the needle travels between them. Useful when working on pathing, or when you want an accurate idea of where your stitches are.
Realistic renders the thread with depth and sheen. It is the closest you get to seeing the real piece. Useful for a preview before going to the machine.
Shift + S cycles through the three.
Modify the stitch angle
Select the realistic view. With the heart selected (click on it if it is not), the bar across the top of the window fills up with its stitch settings.

Let’s play with it. Modify the angle parameter, which reads 15° by default and sits just after the symbol. Change it to 45° and you should see the rows of stitching turn in realistic mode.
We won’t go into all the parameters in this tutorial, but feel free to have a look: you can modify the position and rotation of the object, the stitch type, the row spacing, the underlay, etc. The heart design is relatively small so it should fit most hoops, but in case you want it even smaller, you can modify its size by clicking the transform button and editing the H or W fields (H/W stands for height/width). All of these parameters can also be modified within the Properties panel on the right.
If you lose track of what you changed and want to start over, click the house icon at the top left of the window to go back to the home screen, then click Heart again for a fresh copy.
Let’s export the design!
You have a design on screen, but what you want is a design on a piece of fabric. Now is the moment!
What machine format should I use?
While every embroidery machine uses the same basic instructions, they do not all use the same formats. You can look in your machine’s manual, under the “supported file types” section. For a quick reference, you can also follow the brand table below:
| Your machine | Format |
|---|---|
| Tajima, and most commercial machines | .dst |
| Brother, Babylock | .pes (sometimes .pec) |
| Janome | .jef |
| Pfaff, Husqvarna Viking | .vp3 |
| Melco, Bernina | .exp |
| Barudan | .u01 |
| Singer, Compucon | .xxx |
If you cannot work it out, use .dst. Almost every machine reads it. The main issue with .dst files is that they carry no colour information, so the design will have random colours on your machine. This does not matter here: your heart is one colour, so it will use whatever thread you put on the machine.
Export it in the software
Press Export at the top of the window.
Step 1 is the format list. Click yours. If you told Boldbobbin which machine you own when you set it up, the formats that machine can read say so.
Step 2 is the review: the filename, the file size, the stitch count, and the licence the export carries.
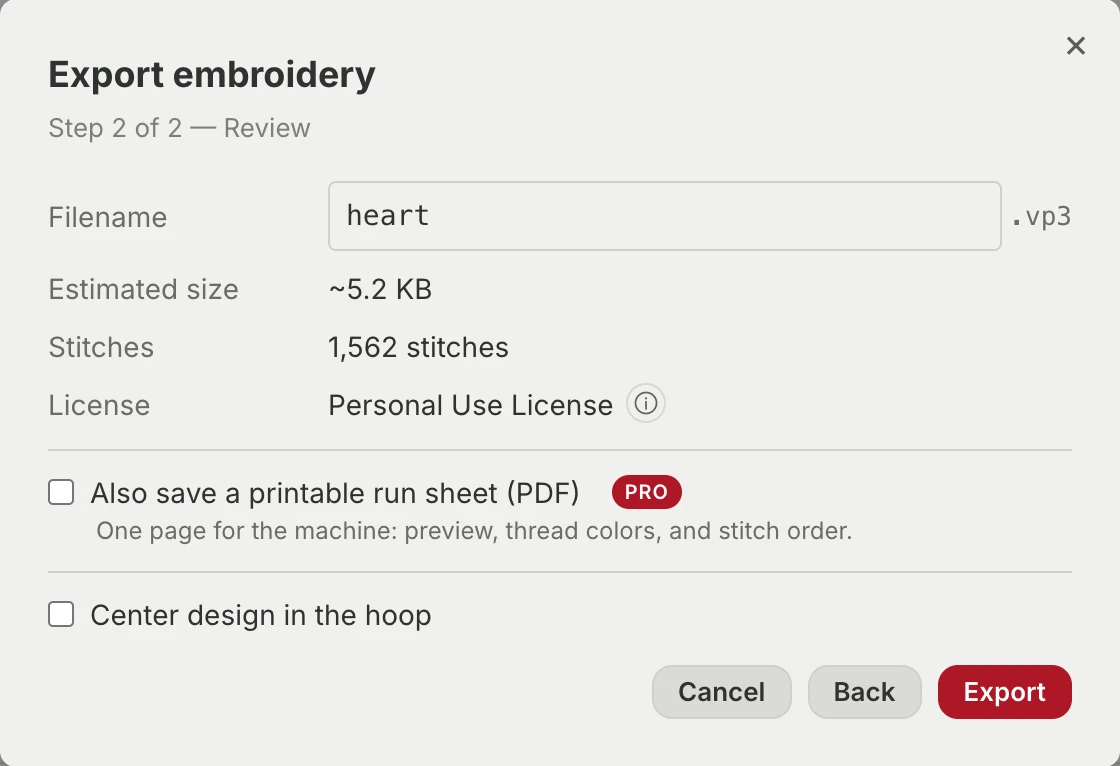
Press Export and the file saves to your computer.
Get it onto your machine
- A USB stick. Copy the file to the stick and find the design in the machine’s menu. Most home machines want the file in the root of the stick rather than in a folder.
- A cable. Some machines appear as a drive when plugged in. Copy it there.
- Wireless, through the machine maker’s own app.
If the machine cannot see the design, the usual causes are the wrong format, the file sitting inside a folder, or a stick formatted in a way the machine does not read. Try putting the file at the root of the stick, and use .dst if it does not work the first time.
Stitch it out
Hoop your fabric with a tear-away stabiliser behind it. Any woven cotton is a forgiving first choice.
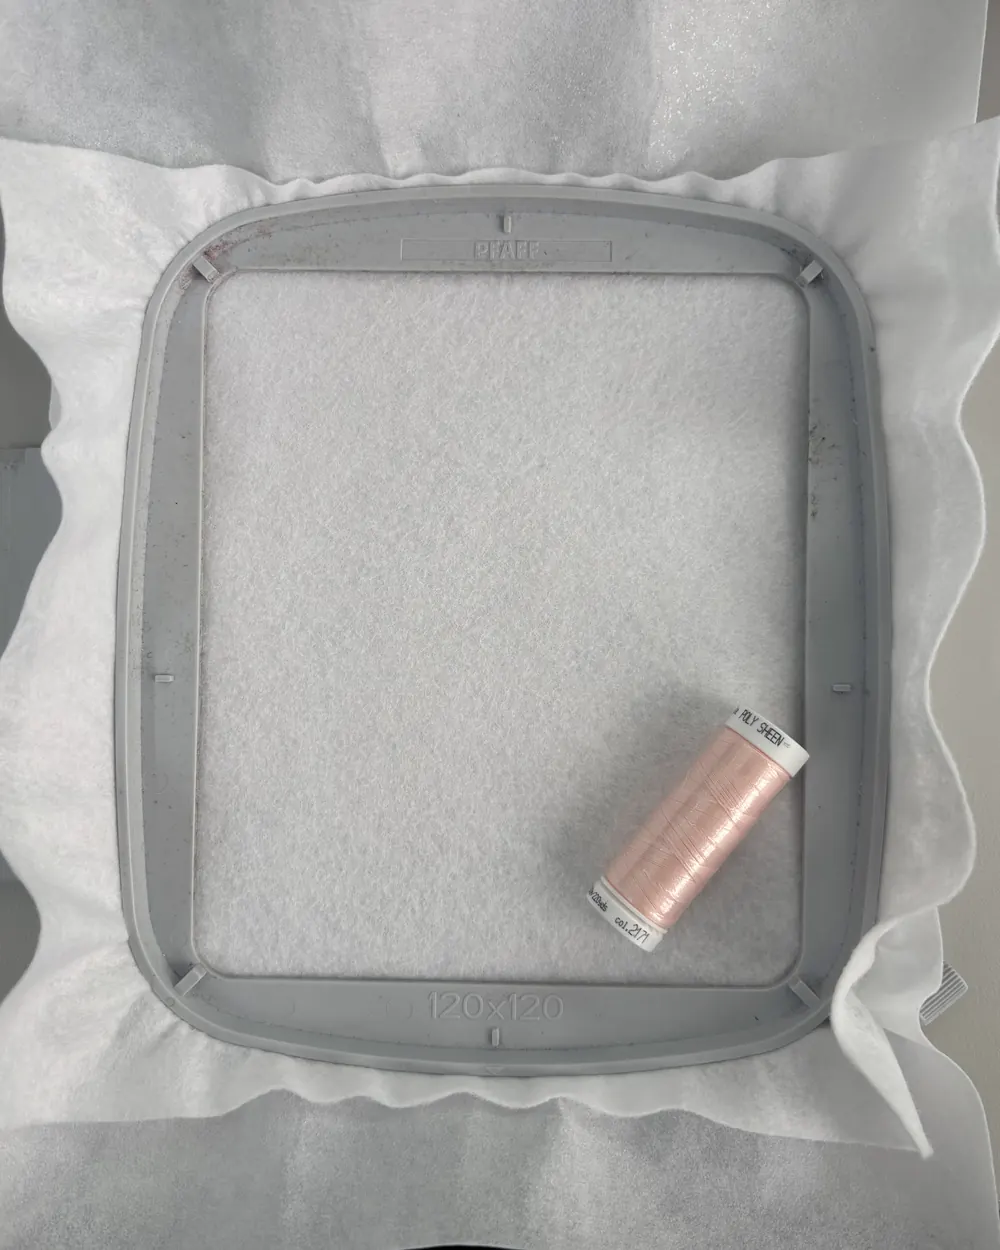
Load the design, check that it fits the hoop, thread the colour you chose, and start it. And a couple of minutes later…
Voilà! You just made your first Boldbobbin embroidery
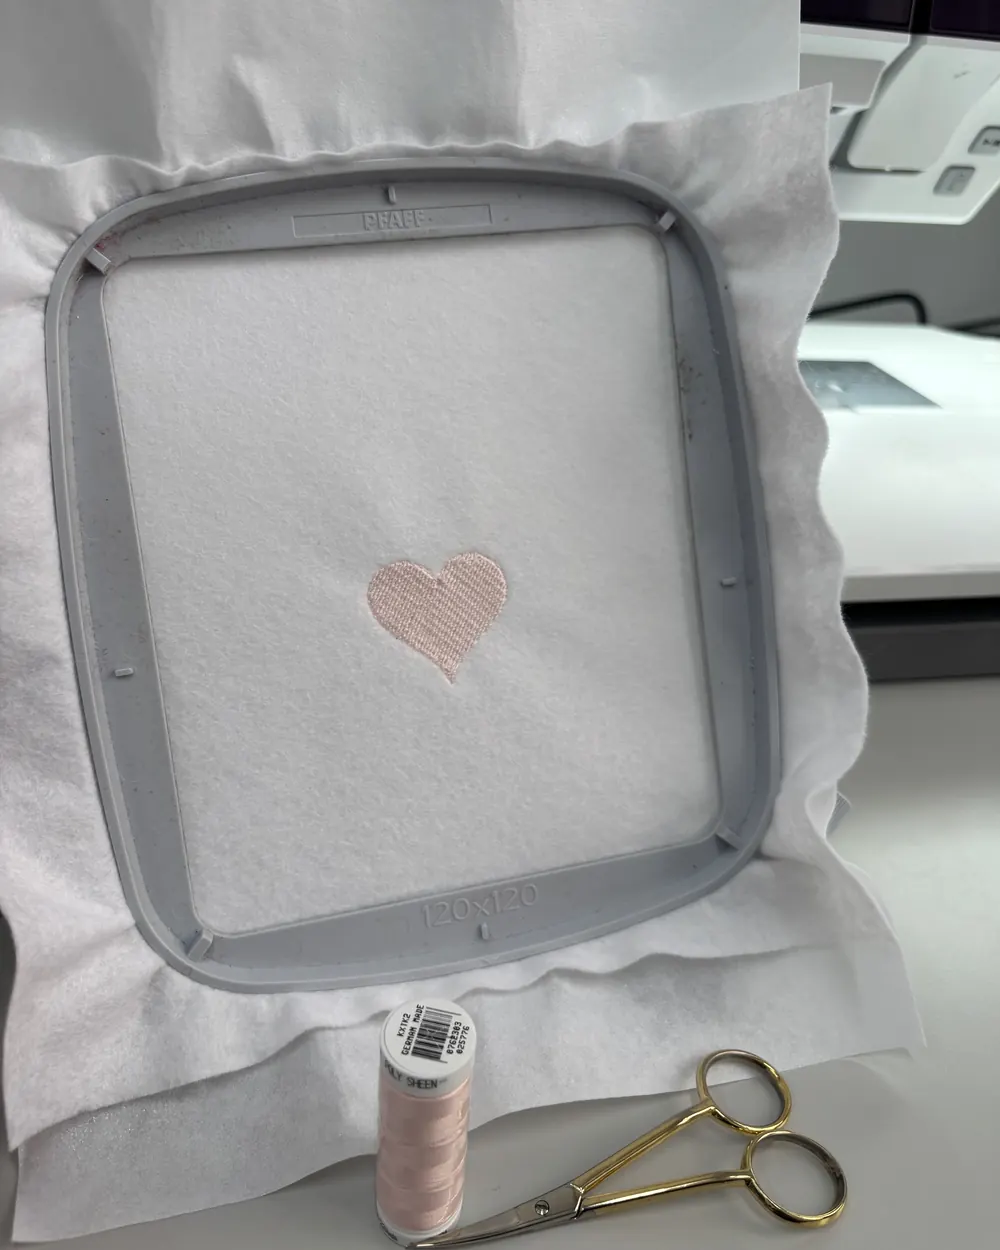
You made your own piece of embroidery, congrats! It means the whole chain works, and you will be able to create your own designs from now on. Don’t hesitate to celebrate your win on social media: embroidery, and crafts in general, gathers a lot of attention. Beware: it’s addictive once you start sharing what you make with others.
In the coming sections, you will learn how to create your own designs from scratch.