
Part 2 of 610 min
Setting up Boldbobbin
You will learn how to make an account and how to set up the software for your specific device.
Boldbobbin has been developed with the latest programming technologies. This is why it feels so much more modern than legacy software! And why it can run both in the browser and natively as a desktop application on both Windows and macOS. Below we cover how to get set up in each case. No need to read everything: pick the section that matches your situation and skip the rest.
Use it in your browser
Nothing to install: go to app.boldbobbin.com and Boldbobbin opens in the tab. This is the easiest way to have a look before deciding whether you want an app on your machine. Pick this one if you are unsure.
There is one requirement, though: your browser has to support WebGPU. WebGPU is the standard that lets a web page use your graphics card, and it only arrived in browsers recently. So a browser you have not updated in a few years might not work.
- Chrome and Edge have supported it the longest and are the safe choice.
- Safari and Firefox need to be recent. If yours is a few years old, update it.
On Linux
We only provide desktop installers for Windows and macOS, so on Ubuntu or any other Linux distribution, the browser is the way in. It works, but browsers do not always turn WebGPU on by default there. If the editor doesn't start, look for the WebGPU option in your browser's flags, switch it on, and reload.
Desktop installation
The desktop app is free to download. There is no trial clock and no credit card. If you would rather not work in a browser, and want the app without the browser clutter around it, we recommend this option.
Both installers can be found on the download page. Pick your system and follow it through. It should be straightforward, but in case you are not used to downloading apps, you can find the detailed steps below.
Click your operating system to see the steps.
Windows
-
On the download page, click Download for Windows. Your browser saves a single file,
Boldbobbin-v…-windows.exe.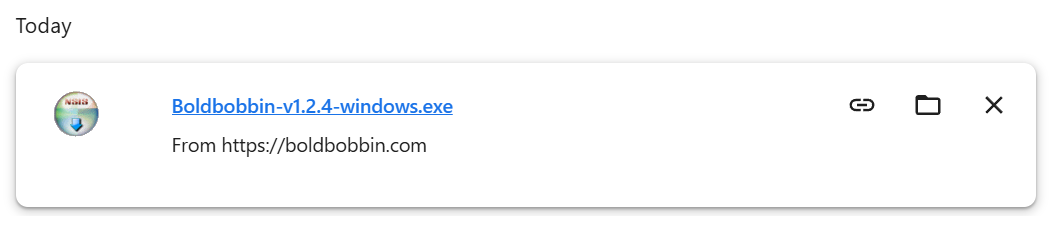
-
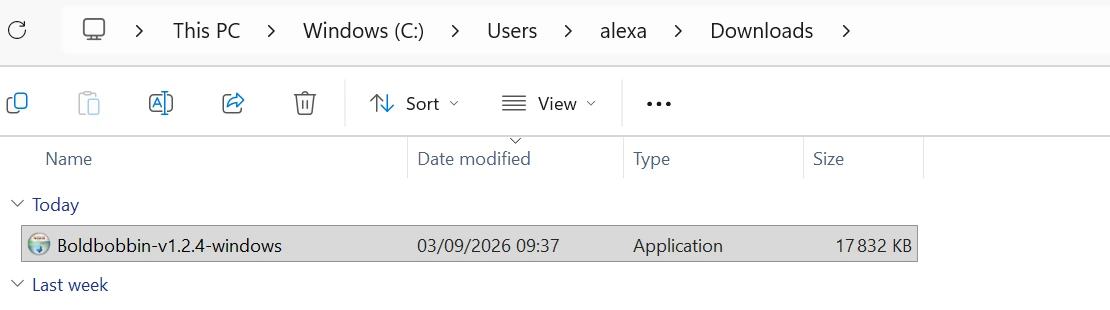
The file lands in your Downloads folder. Open it from the browser's download bar, or open Downloads in File Explorer and find it there. Double-click it to start the install.
-
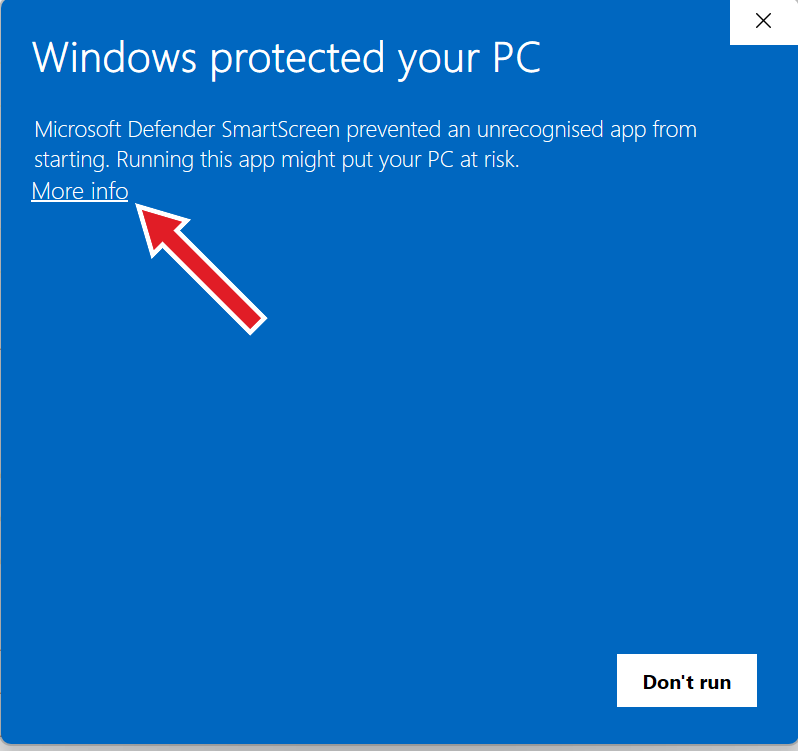
Windows will probably stop you with a blue Windows protected your PC screen. This is expected. Click the More info link, just under the message.
-
The dialog expands to name the file and its publisher, which is Boldbobbin GmbH, the legal name of the company. This proves that a real company is behind the software and that you are not downloading something from unknown sources. A Run anyway button appears. Click it.
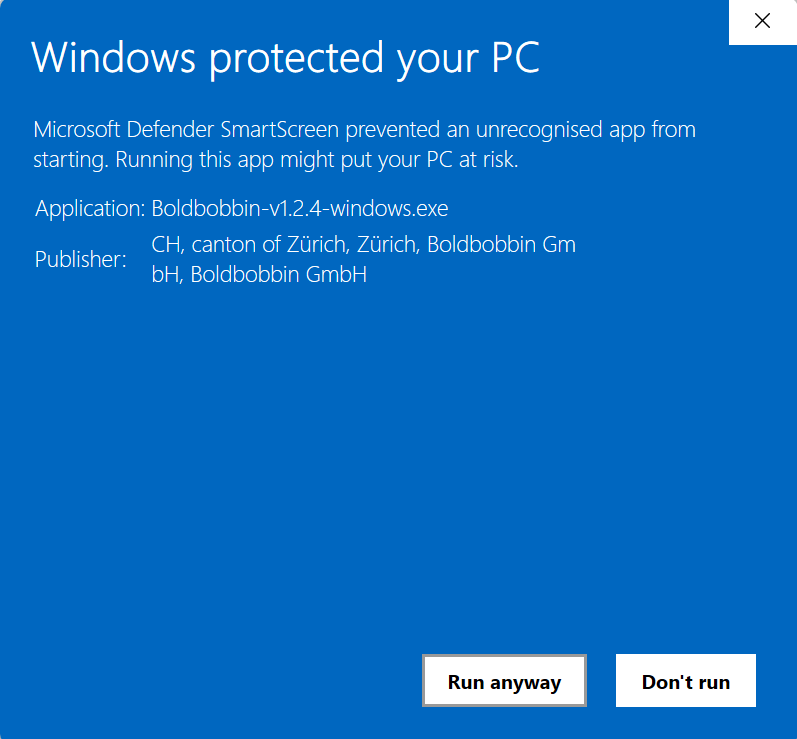
Read the Publisher line before you click. It should say Boldbobbin GmbH. -
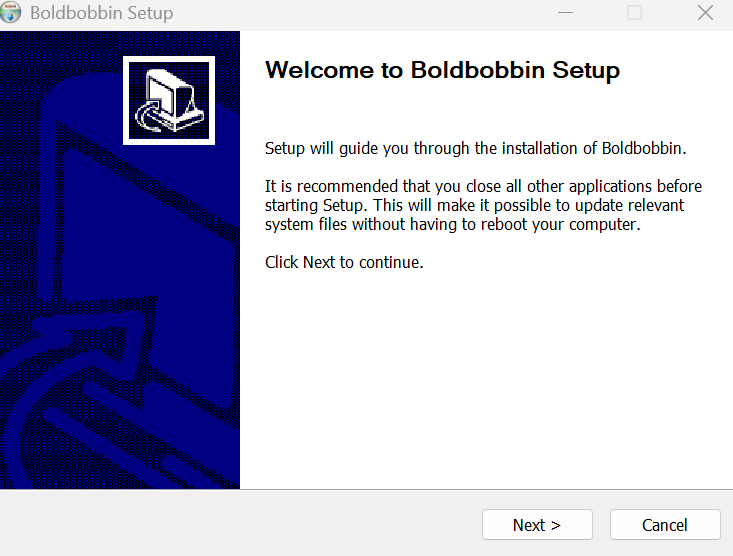
The Boldbobbin installer opens on a welcome screen. Click Next >.
-
Only if you already have Boldbobbin installed: the installer offers to remove the old version first. Leave Uninstall before installing selected and click Next >. On a first install you will not see this screen.
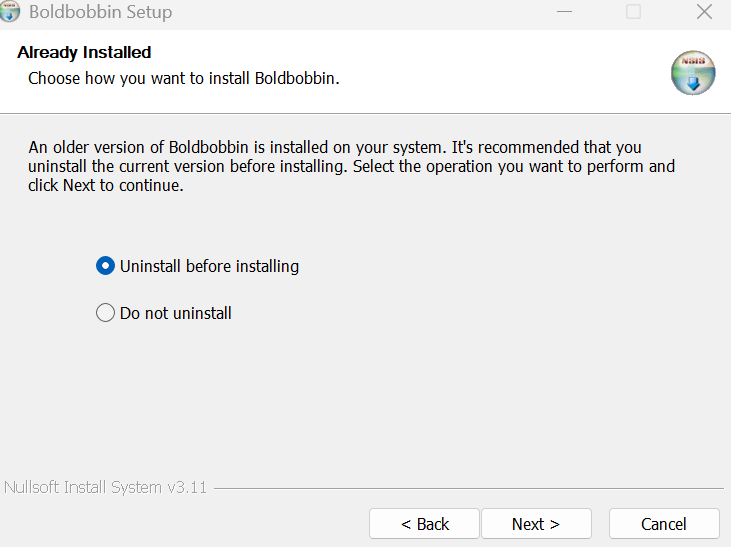
Skip to step 8 if this screen does not appear. -
Only if you already have Boldbobbin installed: the uninstaller asks what to remove. Leave "Delete the application data" unticked, which is the default. Click Uninstall, then Close when it finishes. (Again, on a first install you will not see this screen.)
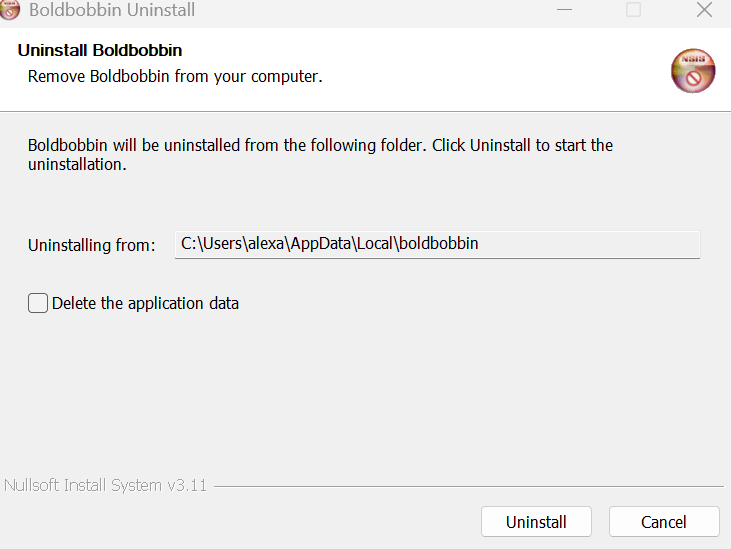
This is the one checkbox on the whole path worth reading twice. -
Choose where it goes. The default is a folder inside your own user account, which is why nothing asks for an administrator password. Leave it alone unless you have a reason not to, and click Next >.
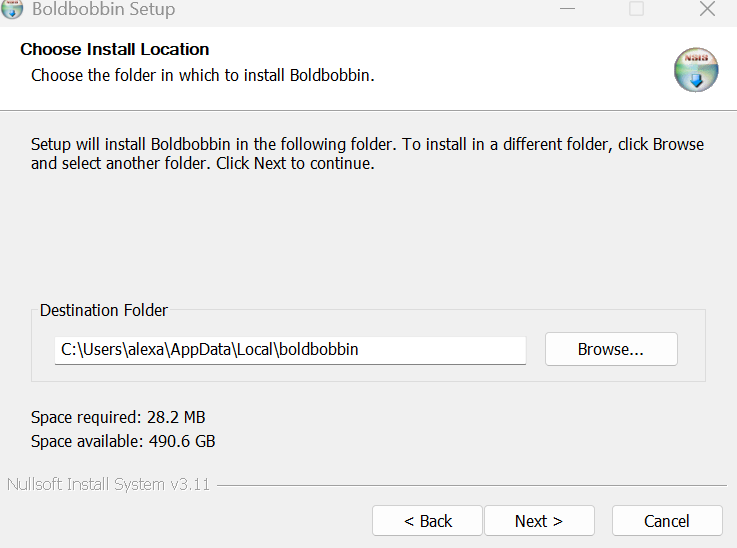
Installing into your user folder is what keeps this a password-free install. -
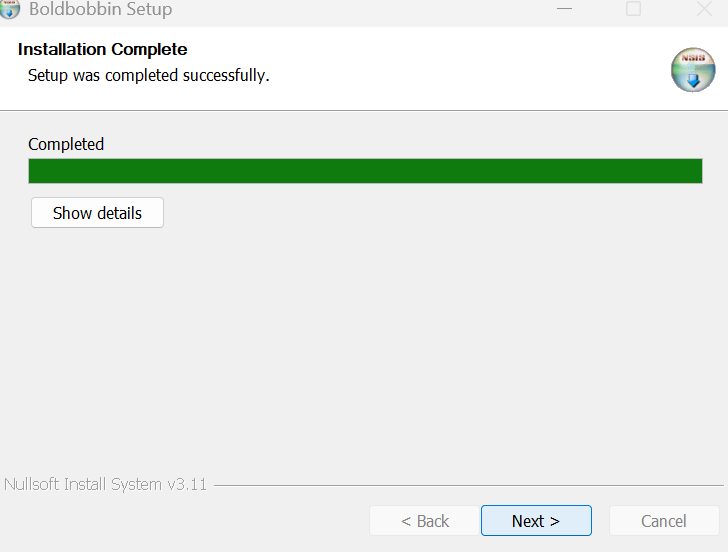
A progress bar runs, then reports that setup completed. Click Next >.
-
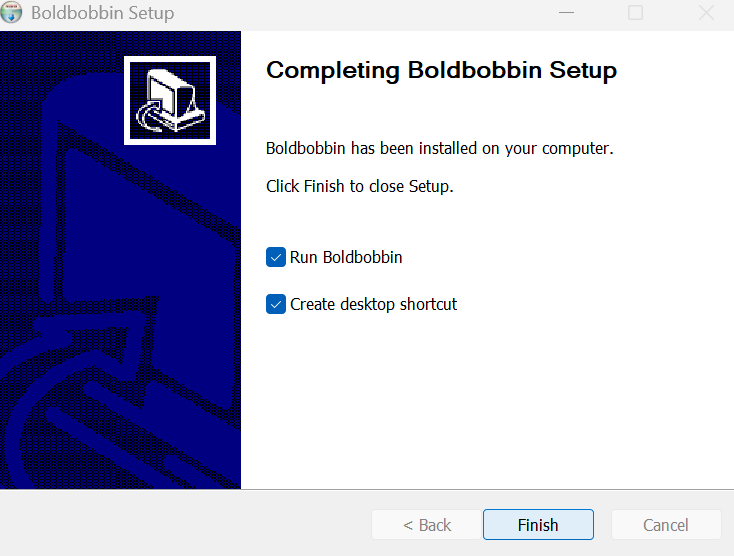
The last screen offers to start Boldbobbin and to put a shortcut on your desktop. Both are ticked already. Click Finish and Boldbobbin opens.
macOS
-
On the download page, click Download for Mac. Your browser saves a disk image,
Boldbobbin-v…-mac.dmg.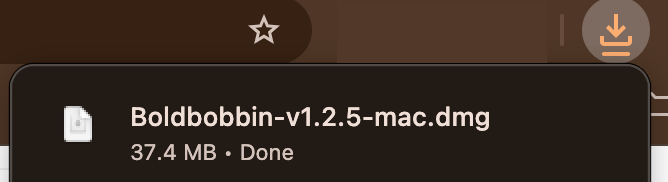
-
Double-click the .dmg. A window opens with the Boldbobbin spool on the left and a shortcut to your Applications folder on the right. Drag the spool onto the Applications folder. That copy is the install.
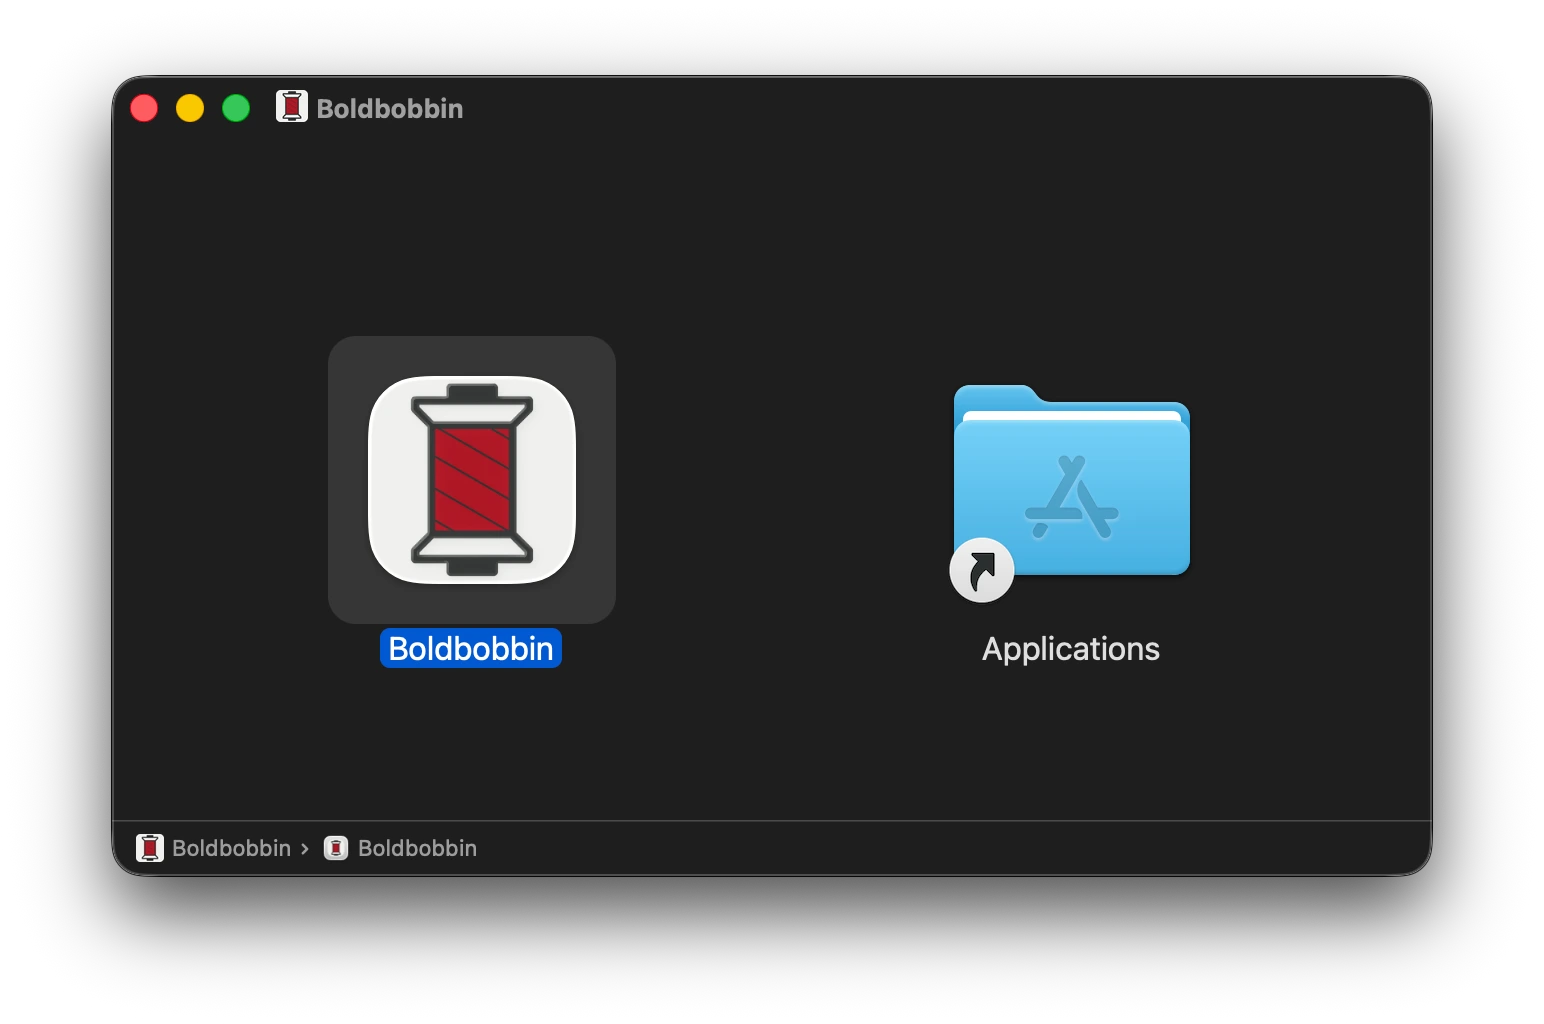
Running Boldbobbin from this window instead works, but only until you eject the image. -
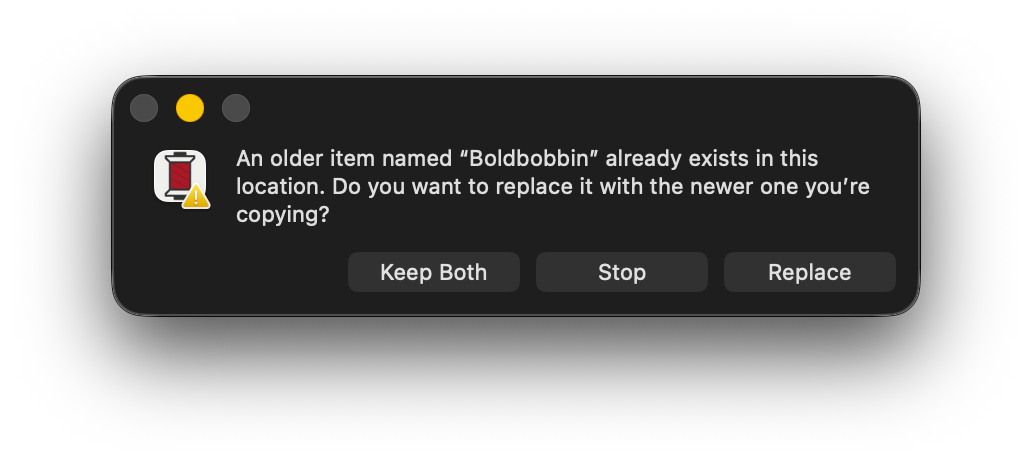
Only if you already have Boldbobbin installed: the Finder asks what to do with the old copy. Click Replace.
-
Open it. Press Cmd + Space, type
Boldbobbin, press Enter. It is also in your Applications folder, and you can drag it to the Dock from there.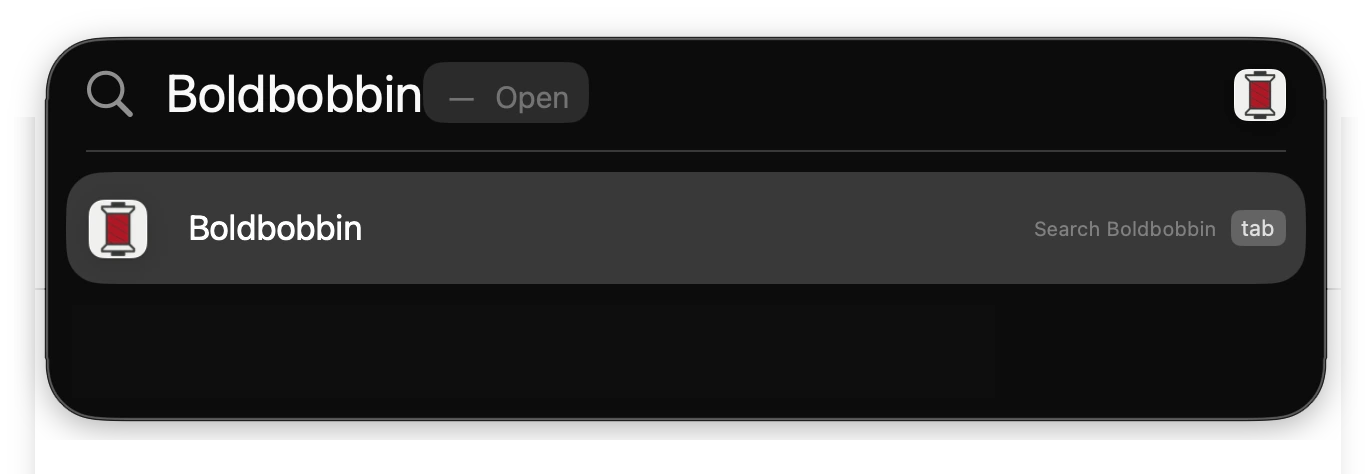
Spotlight finds it as soon as the copy in step 2 has finished. -
The first time only, macOS checks that you meant to open something from the internet. Click Open.
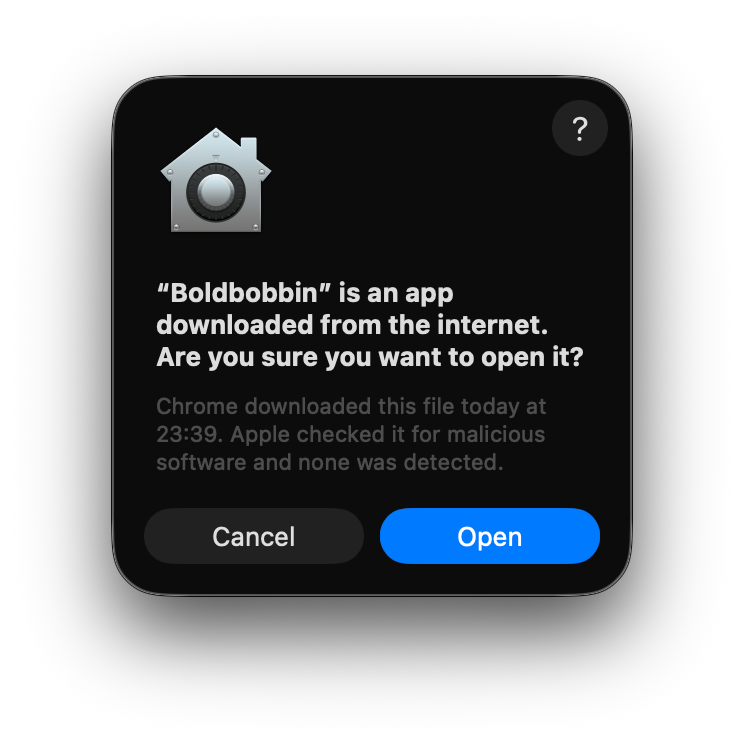
The grey line shows that Apple has already scanned this build. It's safe!
Updating later
You don’t have to do any of this a second time. Boldbobbin looks for a newer version by itself, and when it finds one, a button appears in the bottom right of the home screen.
Click it and Boldbobbin updates itself. The button counts through Downloading…, then says Installing…, then the app restarts on the new version. Tada! Nothing to download by hand anymore.
Making an account
We recommend you make an account to follow this tutorial, as it allows you to save your work directly in the cloud. When you sign in on another machine, your designs also appear there automatically on the home screen.
Creating an account is simple: if you have a Google email, you can simply sign in with the Google button. Otherwise, enter your email and a password. A verification email will be sent with a link to validate your account. Just click on it.
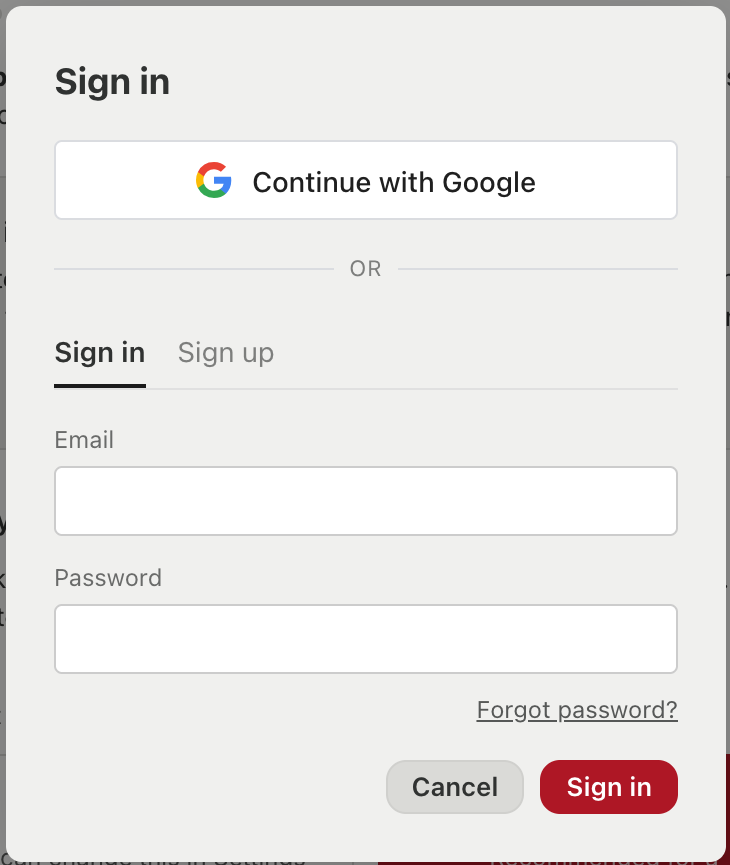
You can create an account and log in from the software, or directly at boldbobbin.com/auth.
The first time you open it
The first run asks you a few things before it lets you at the canvas. You can change these later in the settings.
First, it asks you about the language. Boldbobbin can be used in English, German, Spanish, French, Italian and Mandarin Chinese in both simplified and traditional characters. You can change it later from the picker at the bottom of the home screen.
Then it introduces itself and offers you an account. Sign in if you have not already.
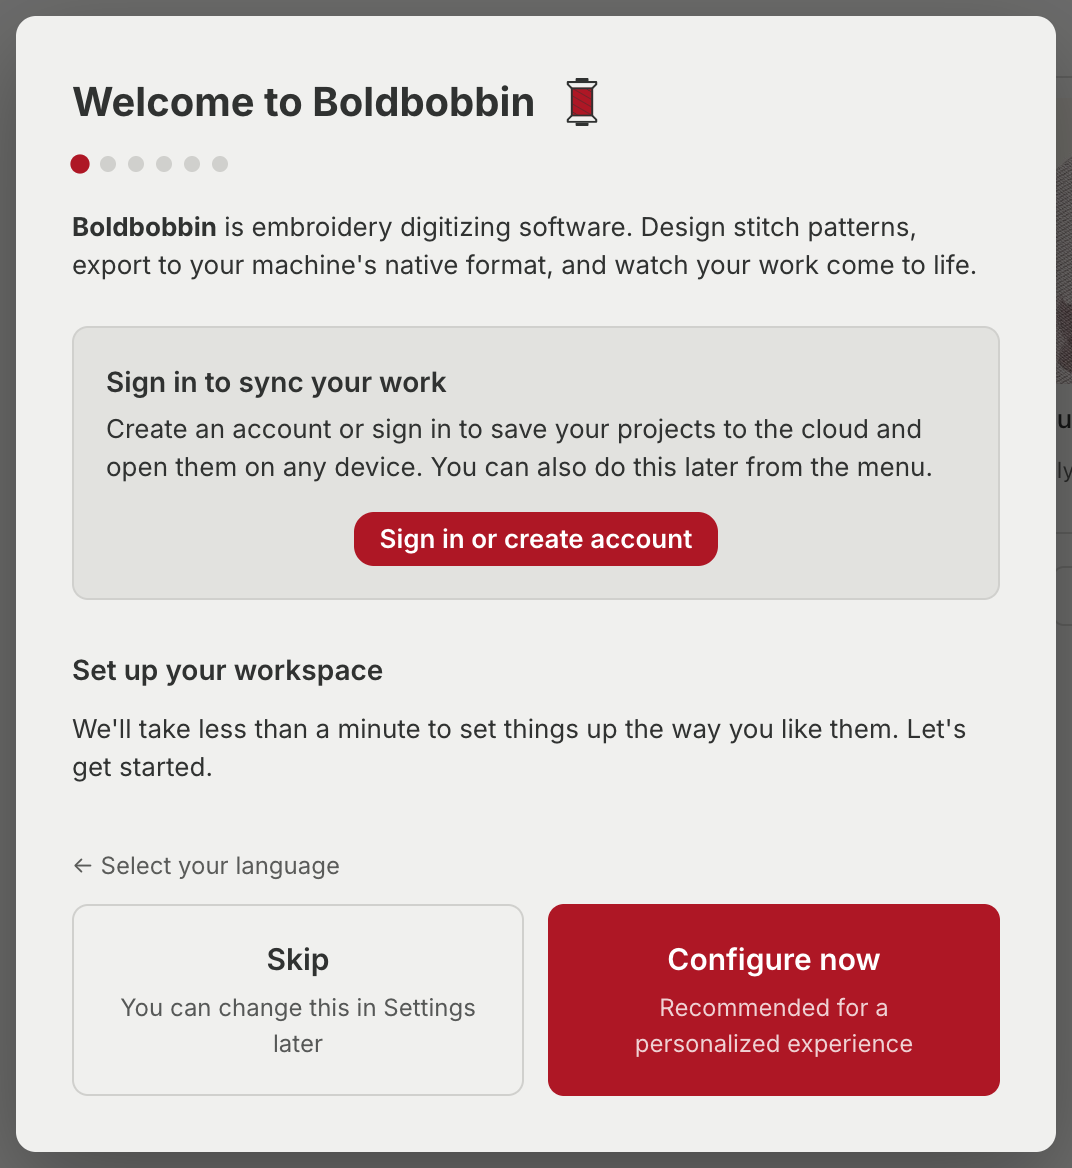
Let’s see how to set up your workspace. It’s optional but short, and you only need to do it once, so let’s deal with it now.
Set up your workspace
To set up your workspace, just follow what is on screen. It typically takes only a few minutes, and everything you pick here can be changed later in Settings.
Units. Metric or imperial. This is what the rulers and the size boxes will use in the software. We recommend using the metric system because the smallest displacement unit in embroidery design is 0.1 mm (but maybe that is my European bias talking!).
Your machines. Pick the brand, then the model. This is worth doing if you already own a machine, because it is what lets Boldbobbin offer you the hoop sizes that match what you own. When creating a design, you will be able to place it accurately within the hoop.
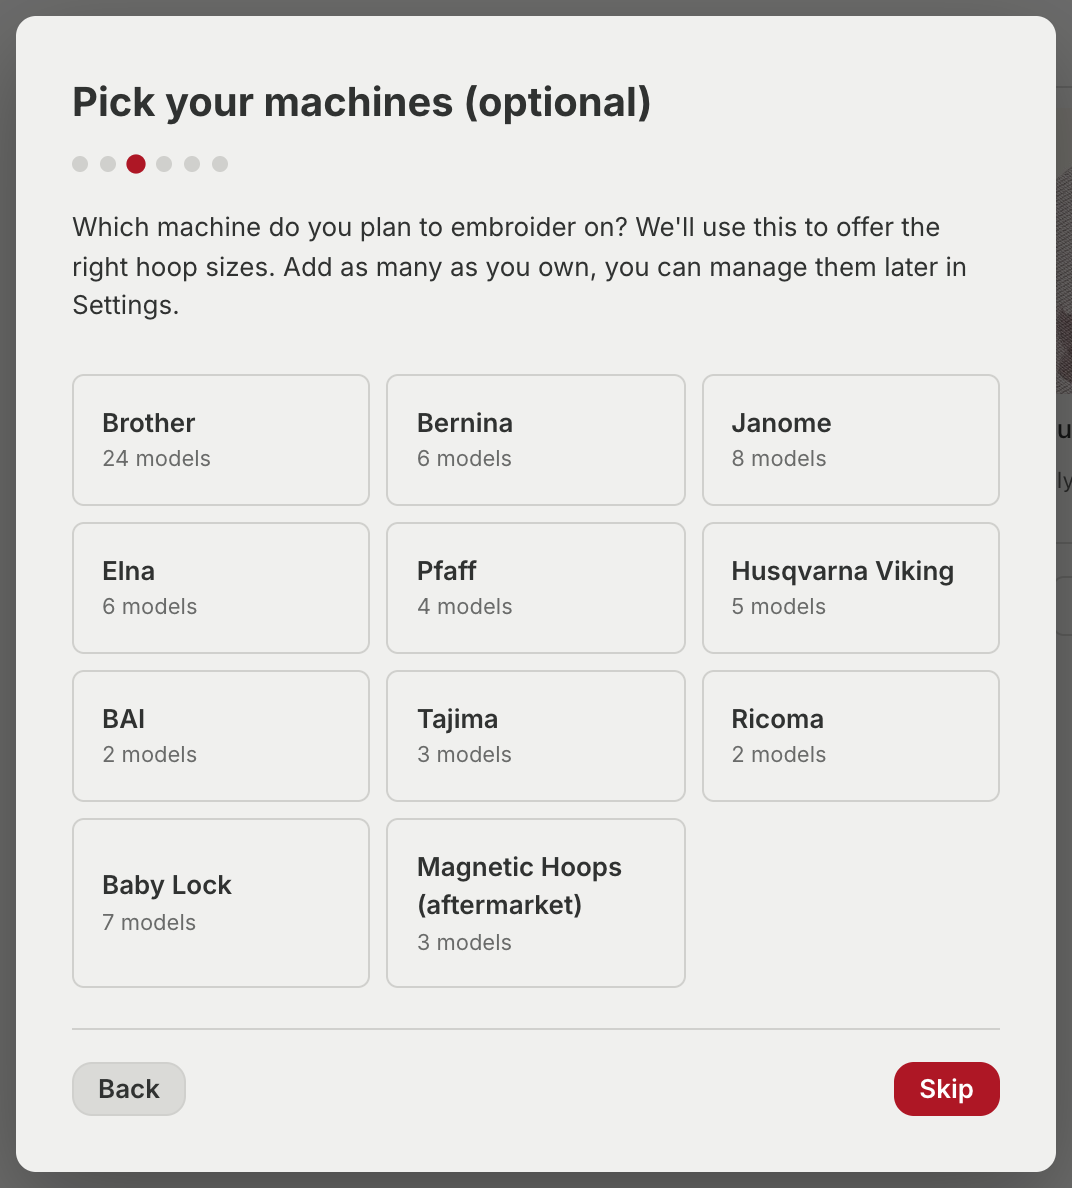
Your default hoop. Pick the one you use most. New designs will select it by default. You can change it per design later from the header.
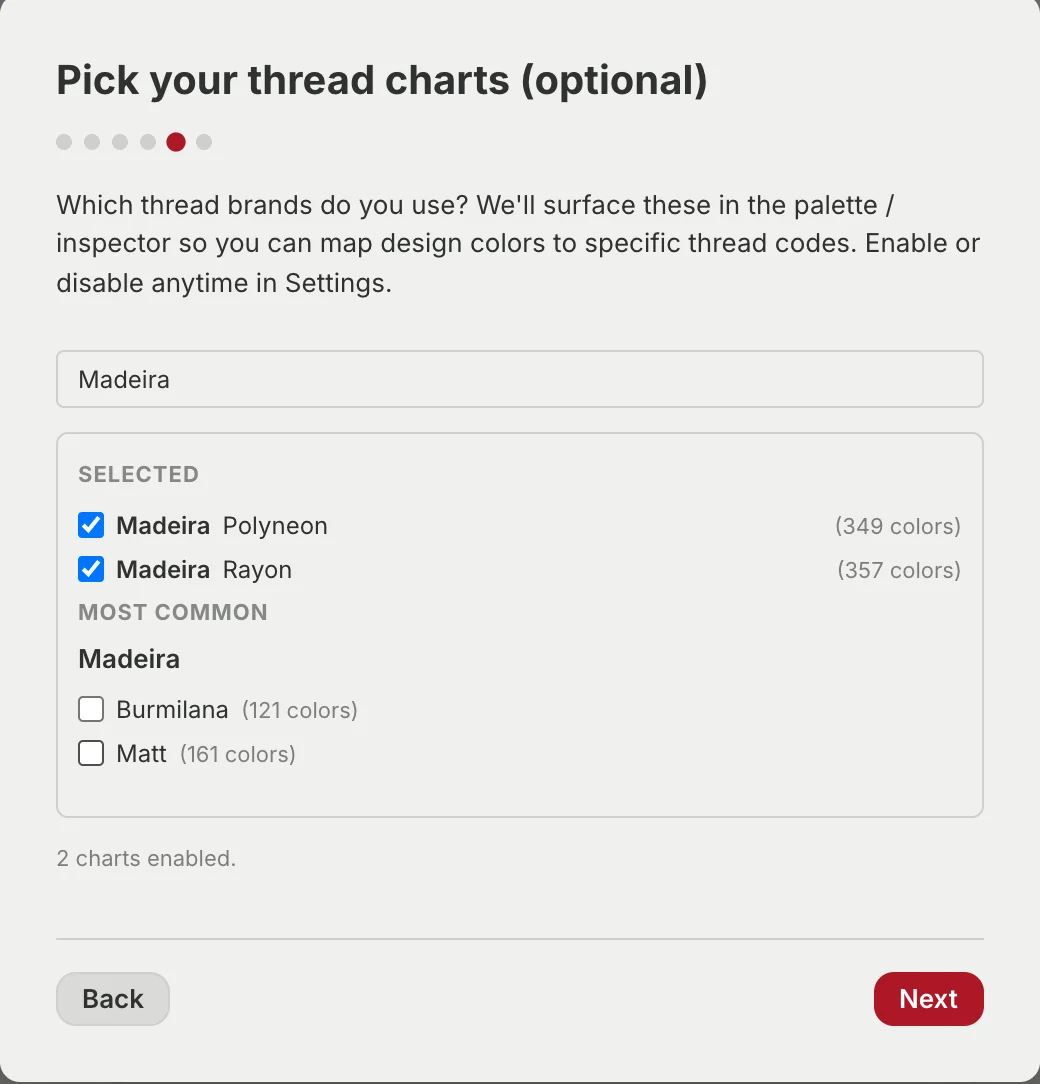
Your thread charts. Which brands of thread you own. Boldbobbin can name the colours in your design as codes that correspond to the colours you have rather than as approximate shades. Type a brand into the search box to find it quickly. A brand that sells several ranges gets a line each, so you can tick only the ones you actually buy.
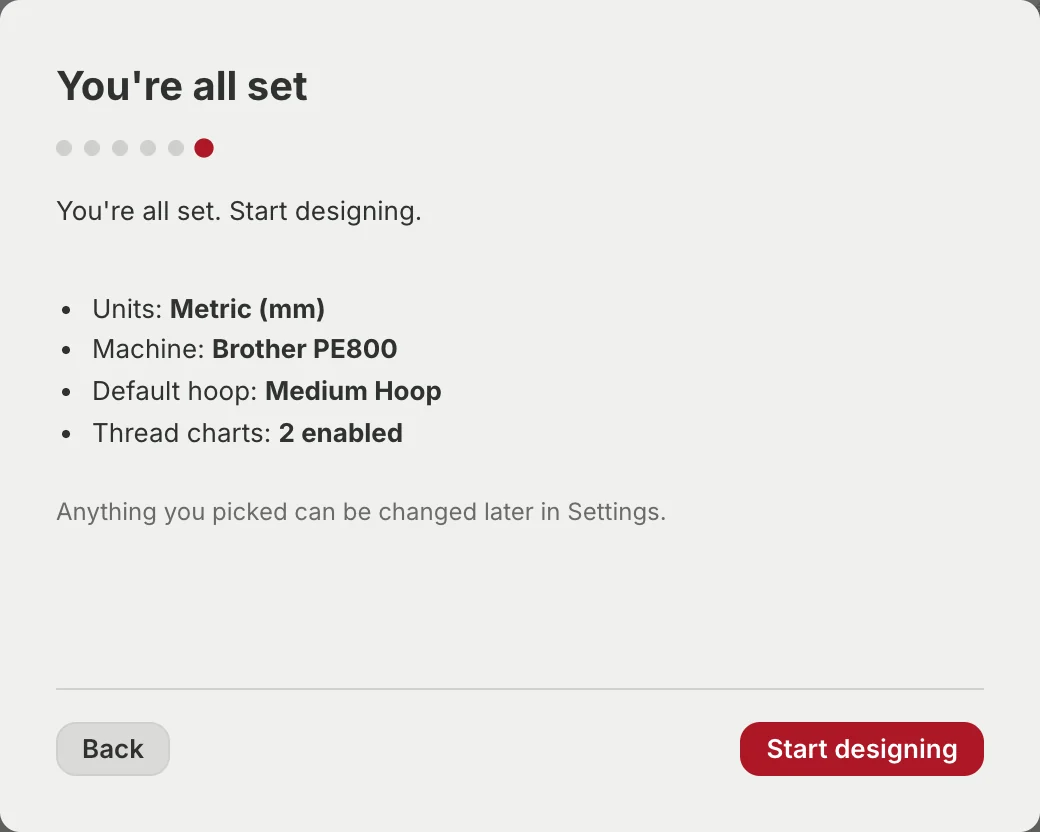
Then it shows you what you chose.
The home screen
Once the first run is over, Boldbobbin opens on its home screen. It looks like this:
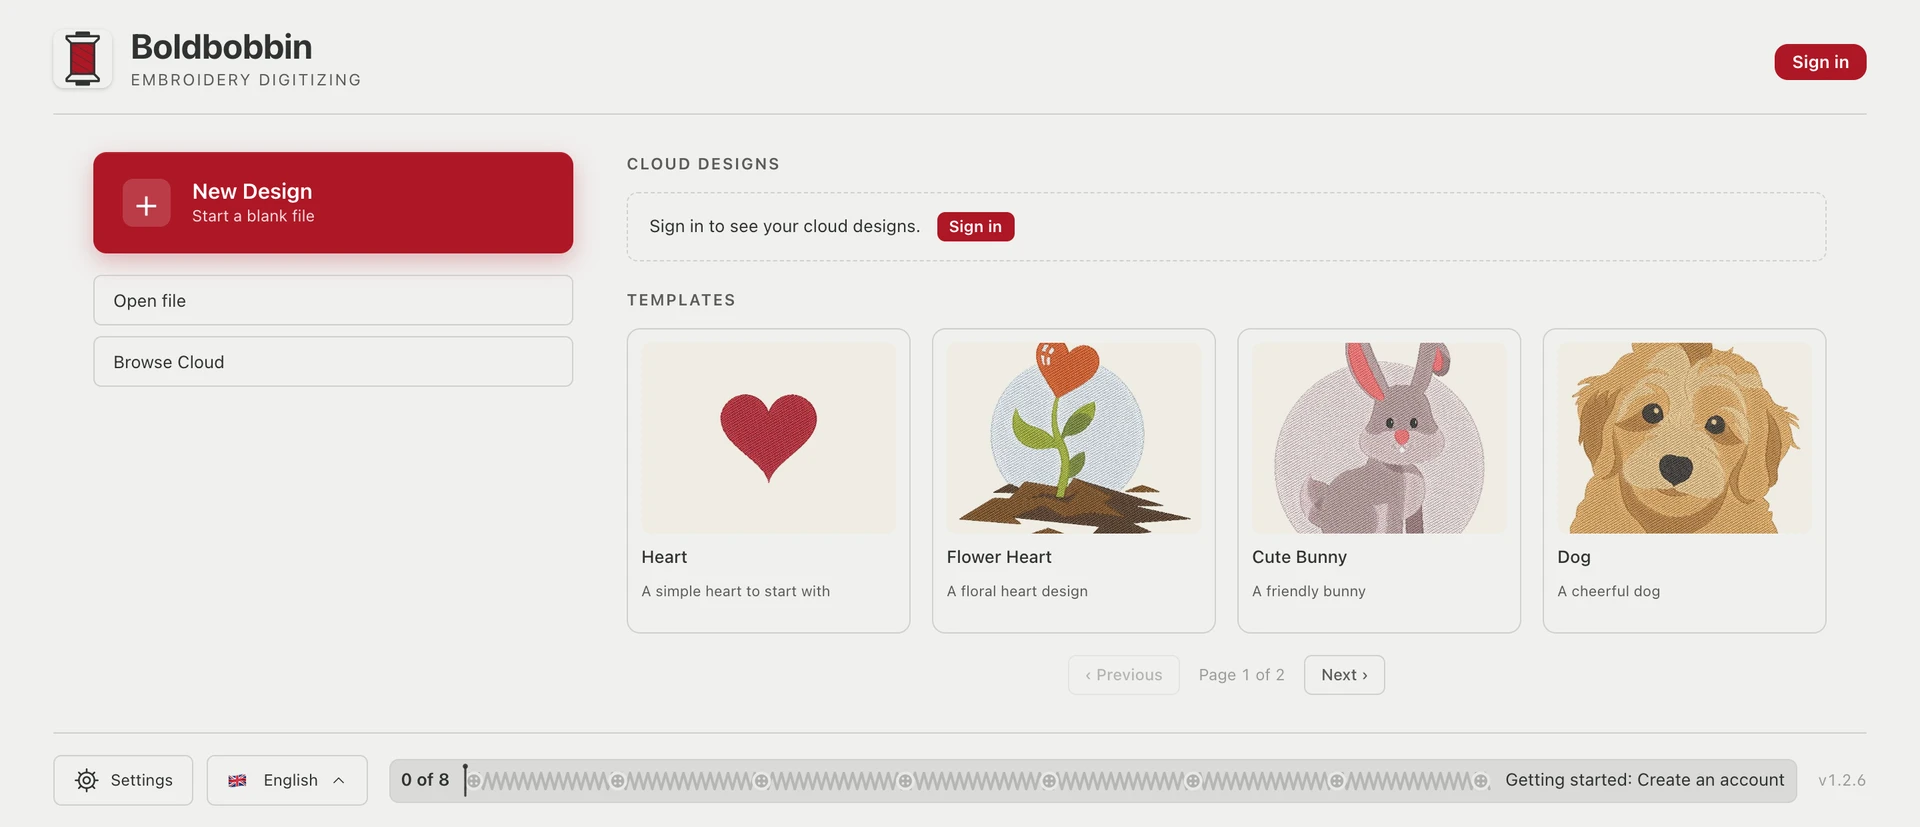
New Design is the big red button. It gives you an empty canvas with your default hoop already on it. Part 4 begins there.
Templates is the row of thumbnails. These are finished designs you can open. Clicking on one creates a copy you can change as you like. Part 3 uses one.
Cloud Designs, just above the templates, is your own saved work. Once you have an account and have saved something, it shows up here on every machine you sign in on.
Open file opens a Boldbobbin project you already have on this computer, which is a file ending in .vemb. Browse Cloud opens everything you have saved, rather than the few most recent designs shown on this page.
The bar at the bottom carries Settings, the language picker, the progress bar described at the end of this part, and the version you are running.
Let’s take a look at the editor!
Open the Heart template from the home screen and you will be looking at the whole editor.
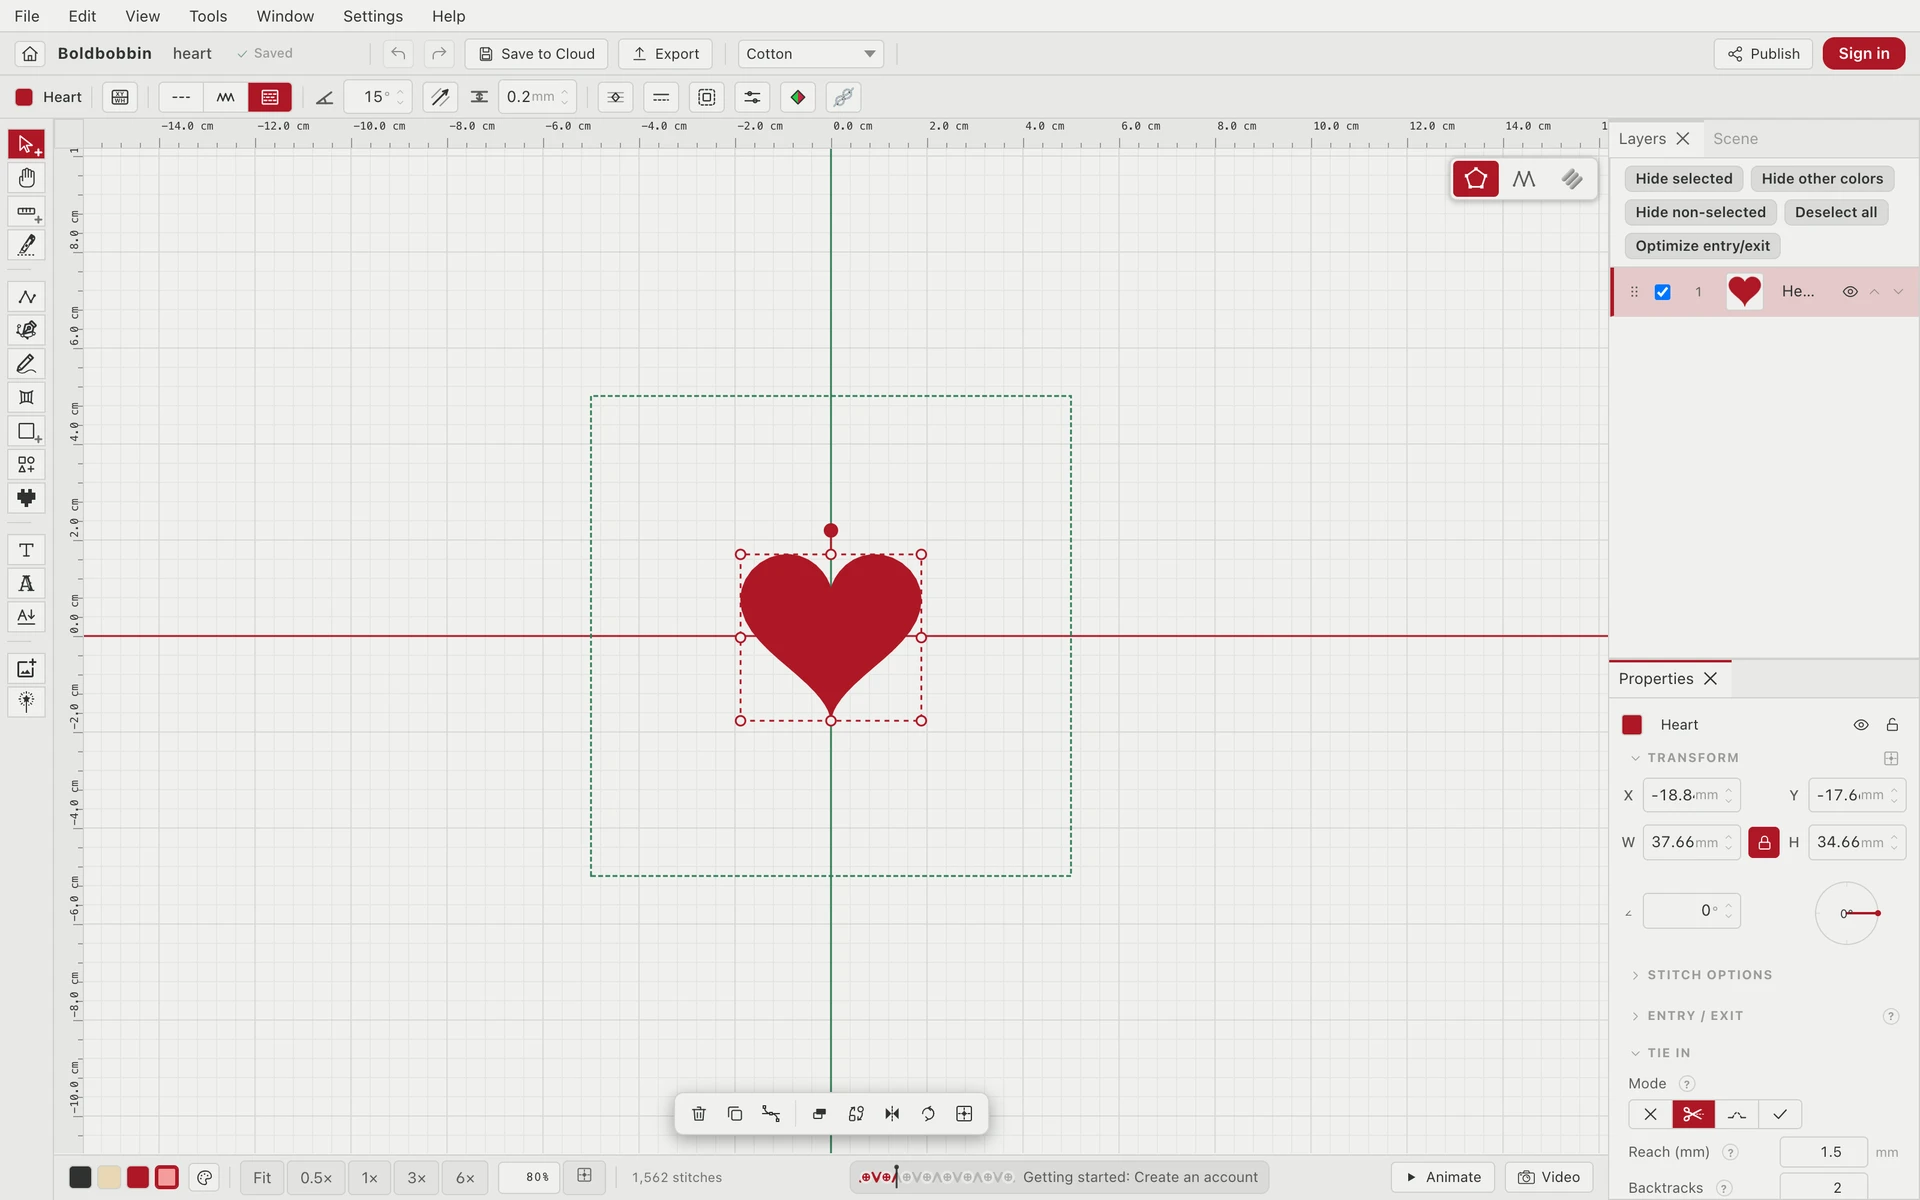
The canvas is the zone in the middle. This is where your design is shown. The rulers are in the units you picked. You can zoom in and out with presets at the very bottom. The dashed rectangle is your currently selected hoop. It is very convenient to have, because anything outside it will not stitch.
The tool rail, on the left, is how things get made. Shapes, lines, text and images all start with a tool from this column. In Part 4, you will use them to create your own piece of embroidery.
Layers are shown at the top right. It’s like a recipe: it lists everything the design is made of in the correct order. The order is bottom-up, and each layer has a number to let you know which one will be sewn first. The Heart template has one entry, because it is only one shape.
Properties, below Layers, holds the settings for whatever is selected right now. Select the heart and it fills up with that shape’s position, size and stitch settings. A bar across the top of the window appears at the same moment, carrying the same settings.
The action bar appears at the bottom of the canvas when you select a shape. Here you can edit the shape’s nodes, flip it with Symmetry, and so on.
The three view modes sit at the top right of the canvas. You can switch between the vector view for tracing, the stitch view for checking the stitches precisely and for the pathing, and the realistic view for previewing how the design will look once embroidered.
And that’s basically it! The most important things on screen have a part of their own later in this tutorial. We won’t cover everything here, but if you are curious you can always check the reference documentation.
The checklist at the bottom
At the bottom of the window is a progress bar named “Getting started” drawn as a row of stitches. It is a short onboarding checklist. You can follow it in the software, or simply ignore it because this tutorial will cover way more anyway.
Now let’s get really started with some action!